By surface & project
Walls, ceilings and panelling
Paint for plaster and lining paper; paint or stain for wooden panelling
| Route | What you use | What it gives you |
|---|---|---|
| Paint: plaster walls and ceilings | Marble Matt Emulsion over Wall Primer or Stabilising Primer | A breathable, scrubbable matt finish (3% sheen), fine on lime plaster |
| Paint: wooden panelling | Multi-Surface Paint over Multi-Surface Primer | A hard-wearing finish in Dead Matt, Eggshell, Satin or Gloss; not breathable |
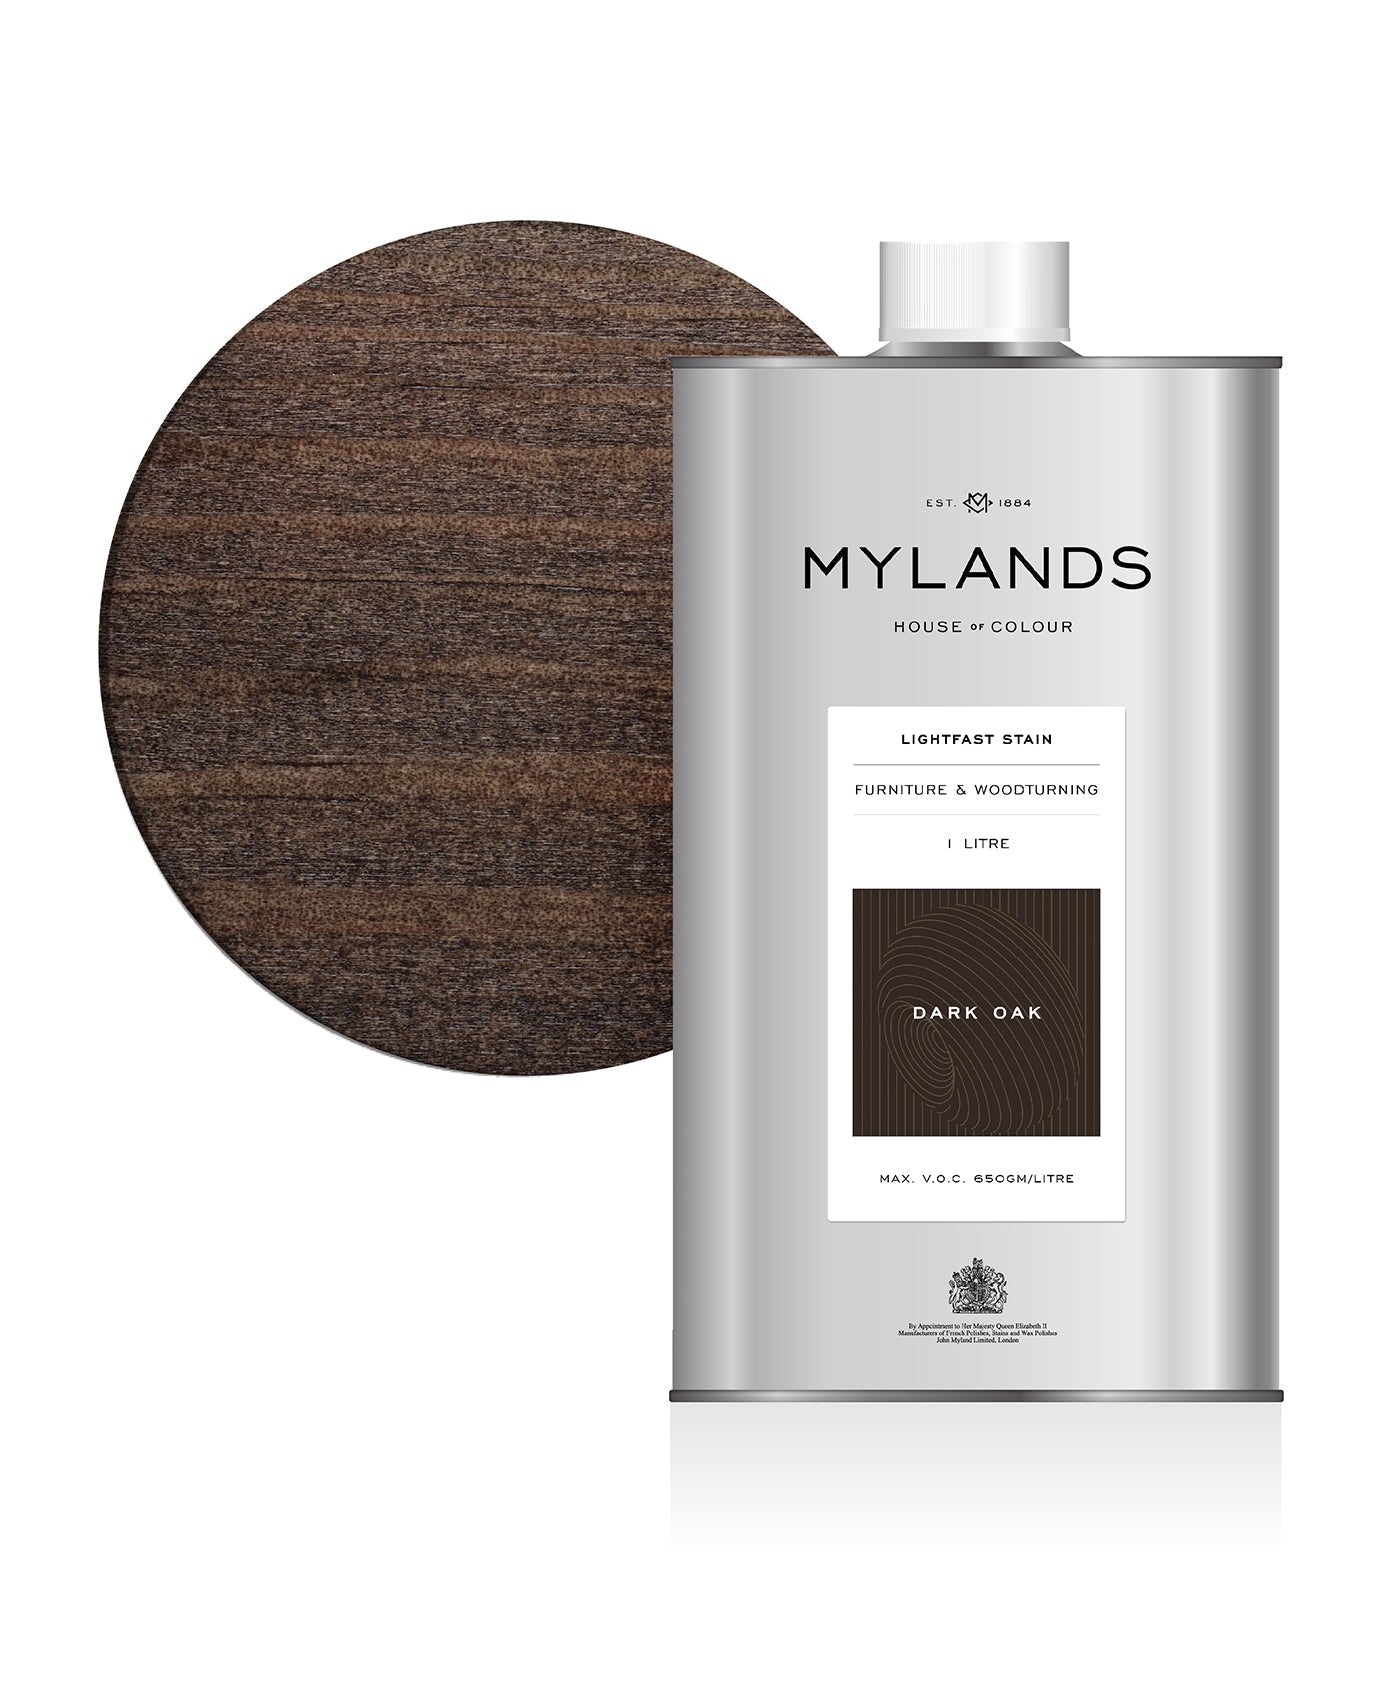
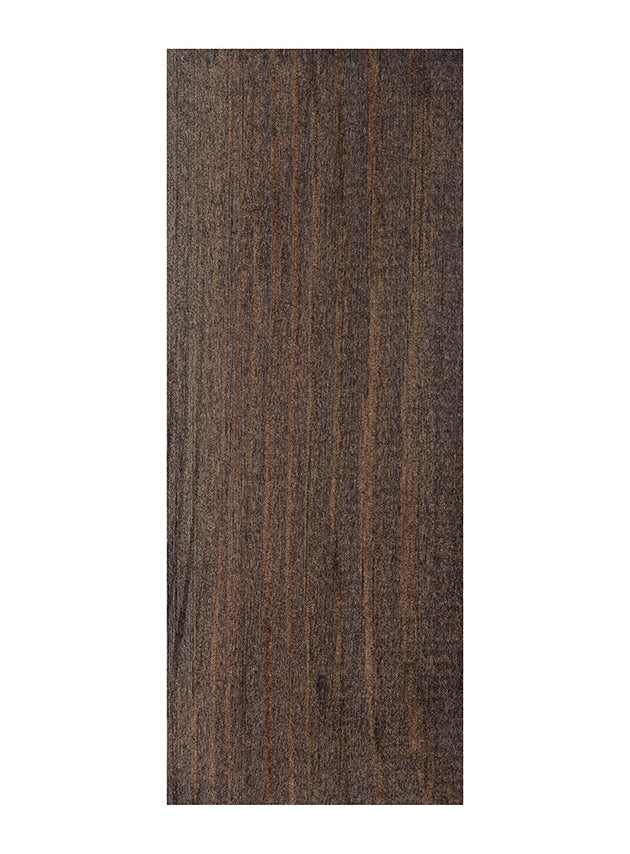
| Wood: wooden panelling | Earth Stains or Light Fast Stains, then wax, oil or varnish | Colour with the grain showing through |
Paint
The paint route
Paint for plaster and lining paper, with the primer each surface needs.
Step by step
Painting walls and ceilings
Paint between 8°C and 30°C, stir well, and wash brushes and rollers straight after use in warm water with a little detergent.
-
Clear and protect
Move out what furniture you can and cover the rest with dust sheets.
-
Repair and sand
Fill cracks and holes, let the filler dry and sand it smooth with fine paper.
-
Clean
Wipe with mild soap and water, rinse with a damp sponge and let the walls dry fully.
-
Prime what needs it
New plaster, lining paper and powdery surfaces need a primer first: see the table below.
-
Cut in, then roll
Brush along the ceiling line, corners and skirting first, then roll the open wall in sections, keeping a wet edge.
-
Two coats
Recoat after 3 to 4 hours. Two coats give the full depth of colour; darker and stronger colours may need a third.
Curing
Marble Matt is touch dry in 1 to 2 hours, but some darker colours take up to 14 days to reach full hardness. Treat new paintwork gently for the first fortnight. It isn’t for shower enclosures.
Primers
Which primer for walls and ceilings?
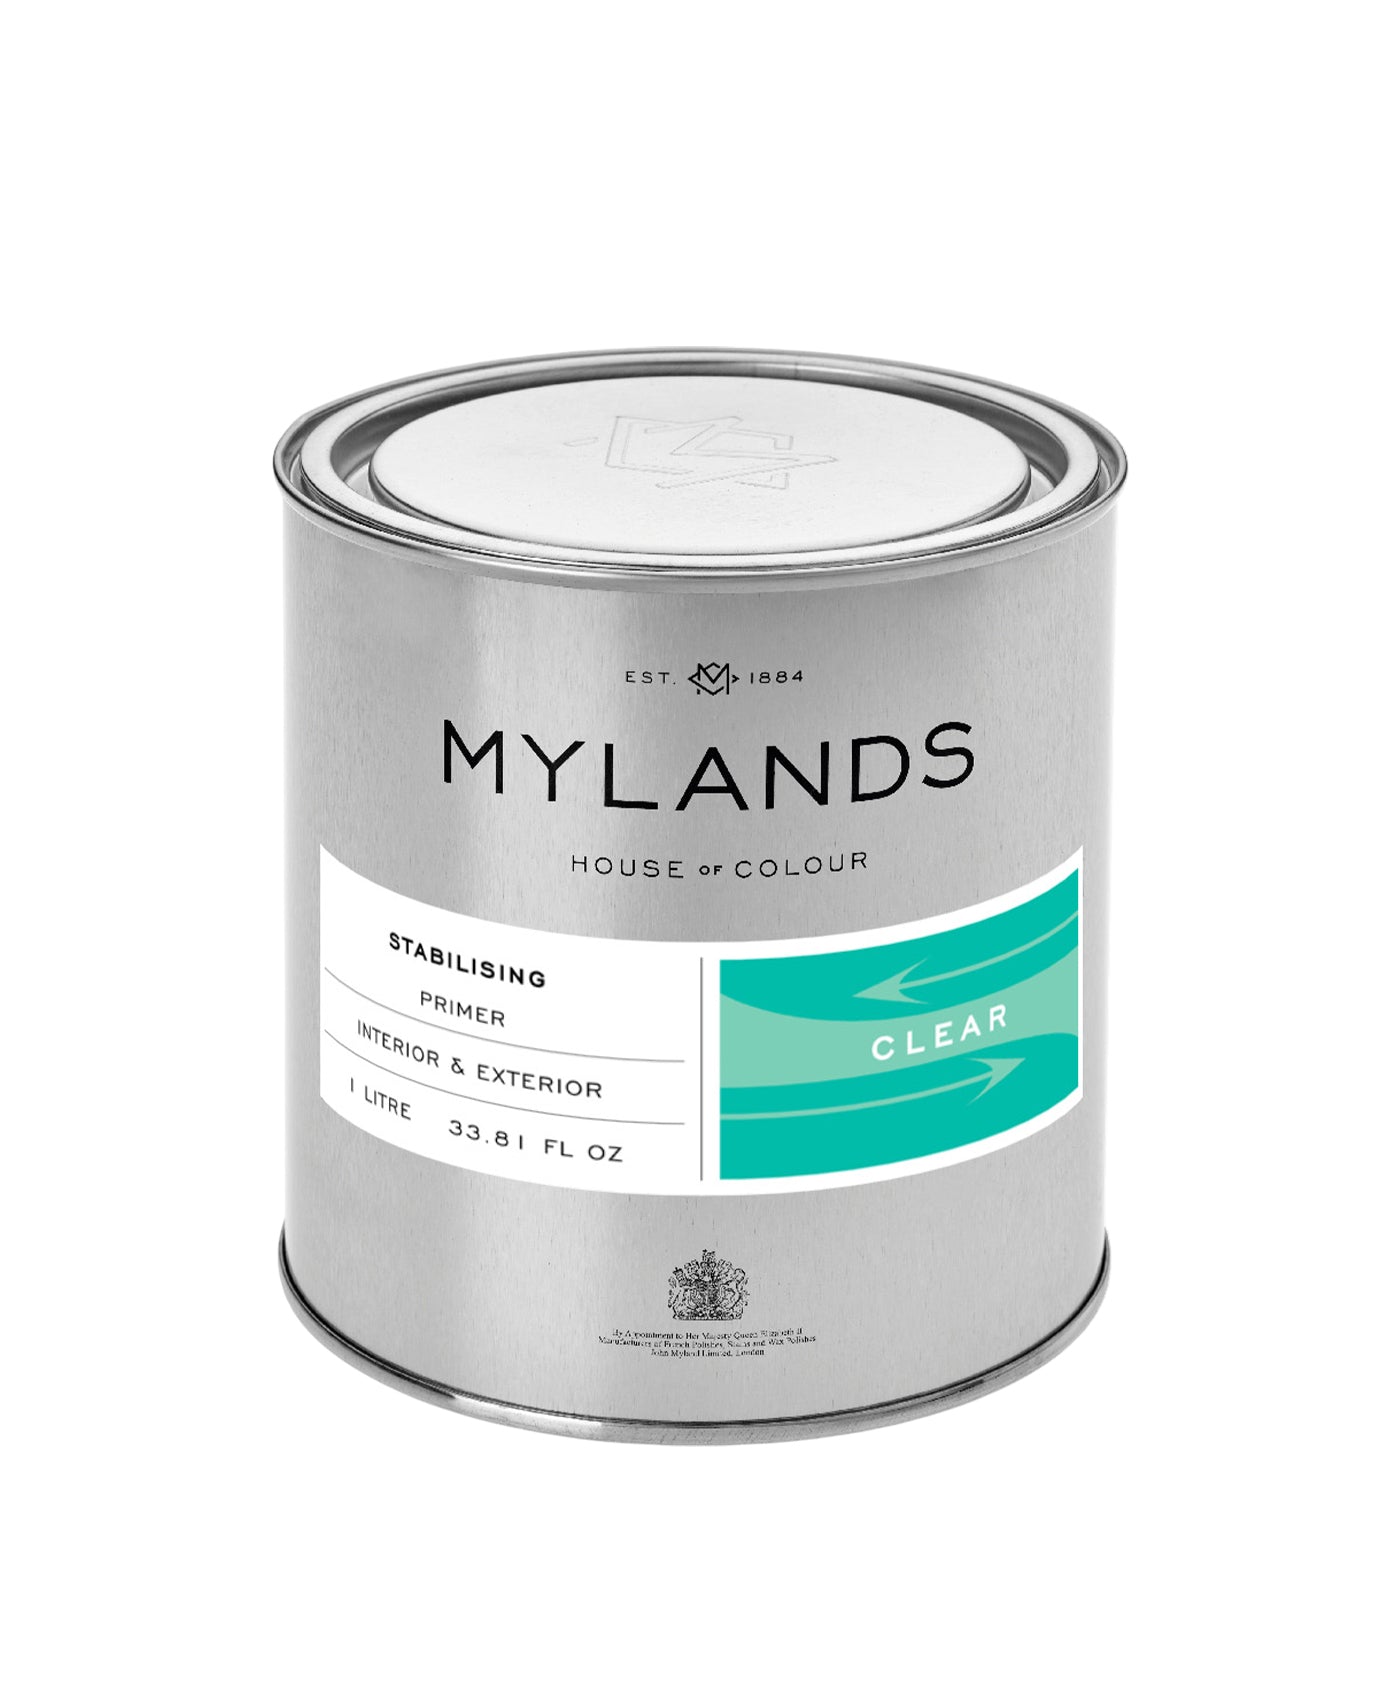
| Surface | Primer | Then |
|---|---|---|
| New plaster, once fully dry | Wall Primer | Two coats of Marble Matt. Or skip the primer: a mist coat of Marble Matt with about 20% water |
| Unpainted lining paper | Wall Primer, with up to 10% water | Two coats of your colour |
| Lime plaster, once fully dry | Stabilising Primer | Marble Matt, which is breathable |
| Powdery or chalky plaster | Stabilising Primer | Your topcoat; it stops the paint soaking in patchily |
| Sound, painted walls | None needed | Two coats of paint |
| Bare wooden panelling, to paint | Multi-Surface Primer | Multi-Surface Paint. Seal knots with Patent Knotting first |
Primer & Undercoat comes in white and 10 tints, as Wall Primer or Multi-Surface Primer. Multi-Surface paints aren’t breathable, so lime plaster takes Marble Matt.
Shop
For painting walls and ceilings

Wood finish
The wood route
Stain wooden panelling so the grain shows, then finish it.
Stains
Which stain for panelling?
| Stain | Base | Best for panelling when |
|---|---|---|
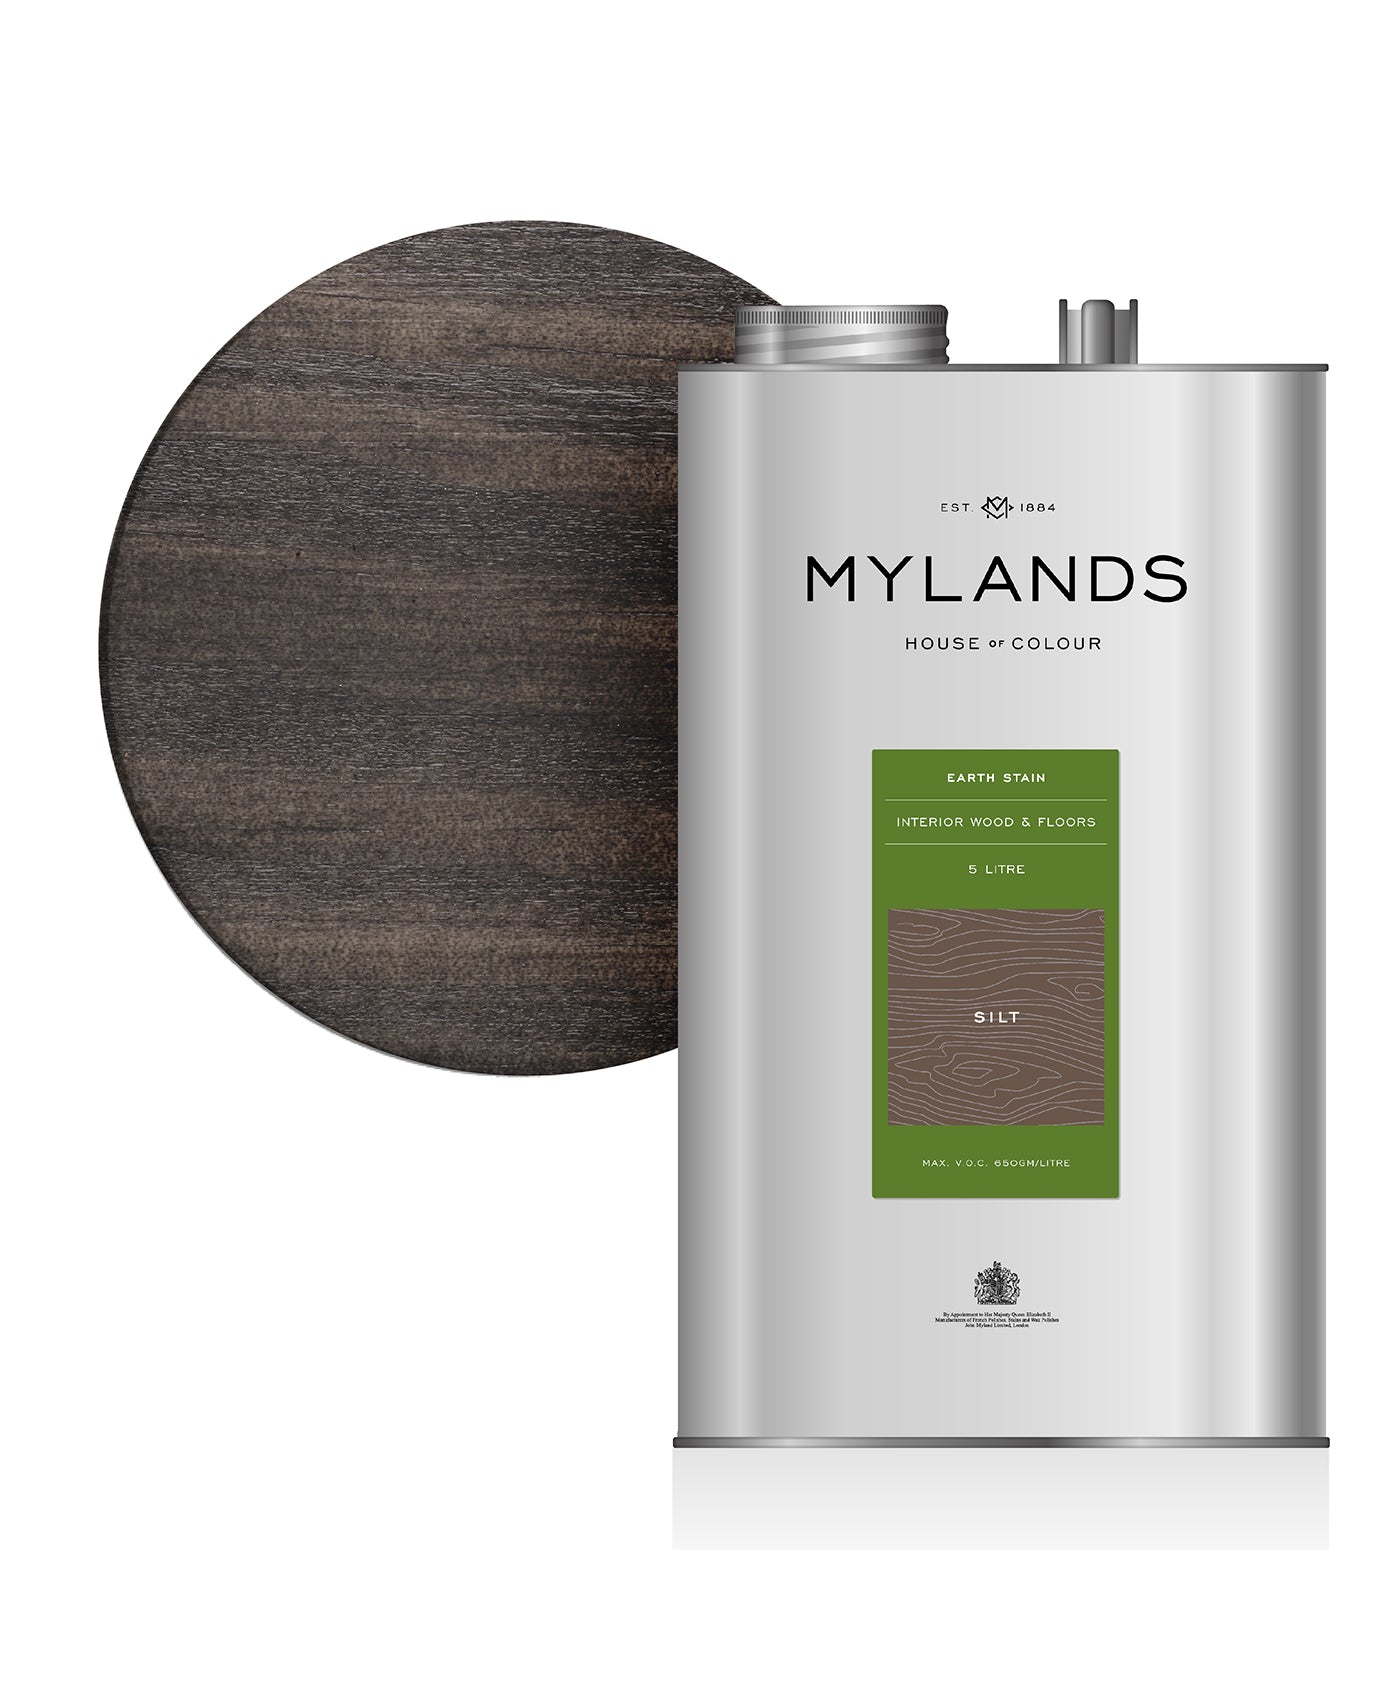
| Earth Stains | Water-based, low odour | You want soft, natural tones and an easy, low-odour job indoors |
| Light Fast Stains | Spirit-based, light-fast dyes | You want strong, clear colour that resists fading in a sunny room |
| Water Stains | Water-based dye | You want traditional, deep, even colour on oak or pine |
| Nitrostains | Nitrocellulose | Trade and spray finishing, with fast drying and no grain raising |
For most home panelling, Earth Stains or Light Fast Stains are the easiest place to start. Ask us which topcoat suits your stain before you begin.
Staining panelling
Before you stain
-
Make a test board
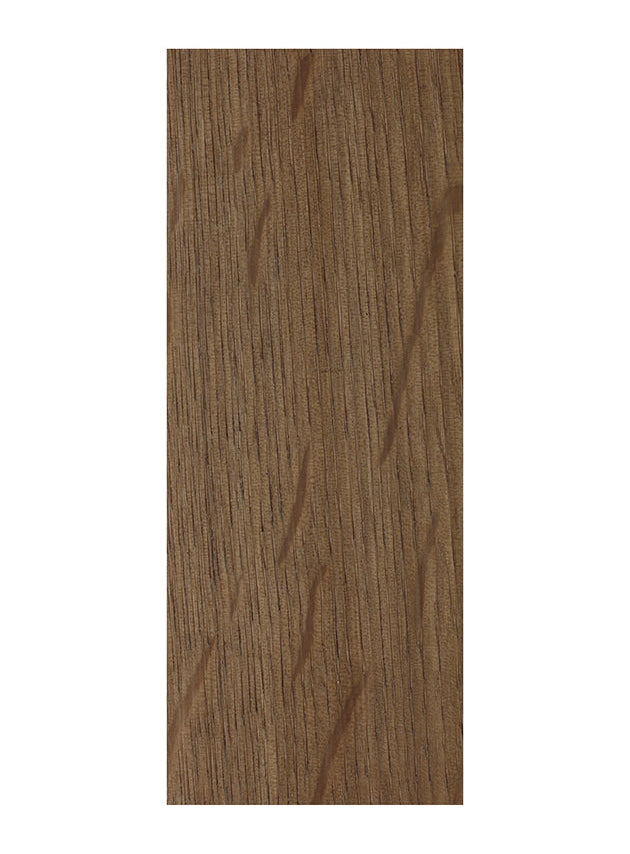
Use an offcut of the same boards, sanded the same way, and take it through the stain and every coat of the topcoat. Judge it dry, in daylight and lamplight.
-
New boards
Stain before fitting if you can, so no bare stripe shows at the joints when the boards move. Sand evenly along the grain at 120, then 240 to refine.
-
Existing panelling
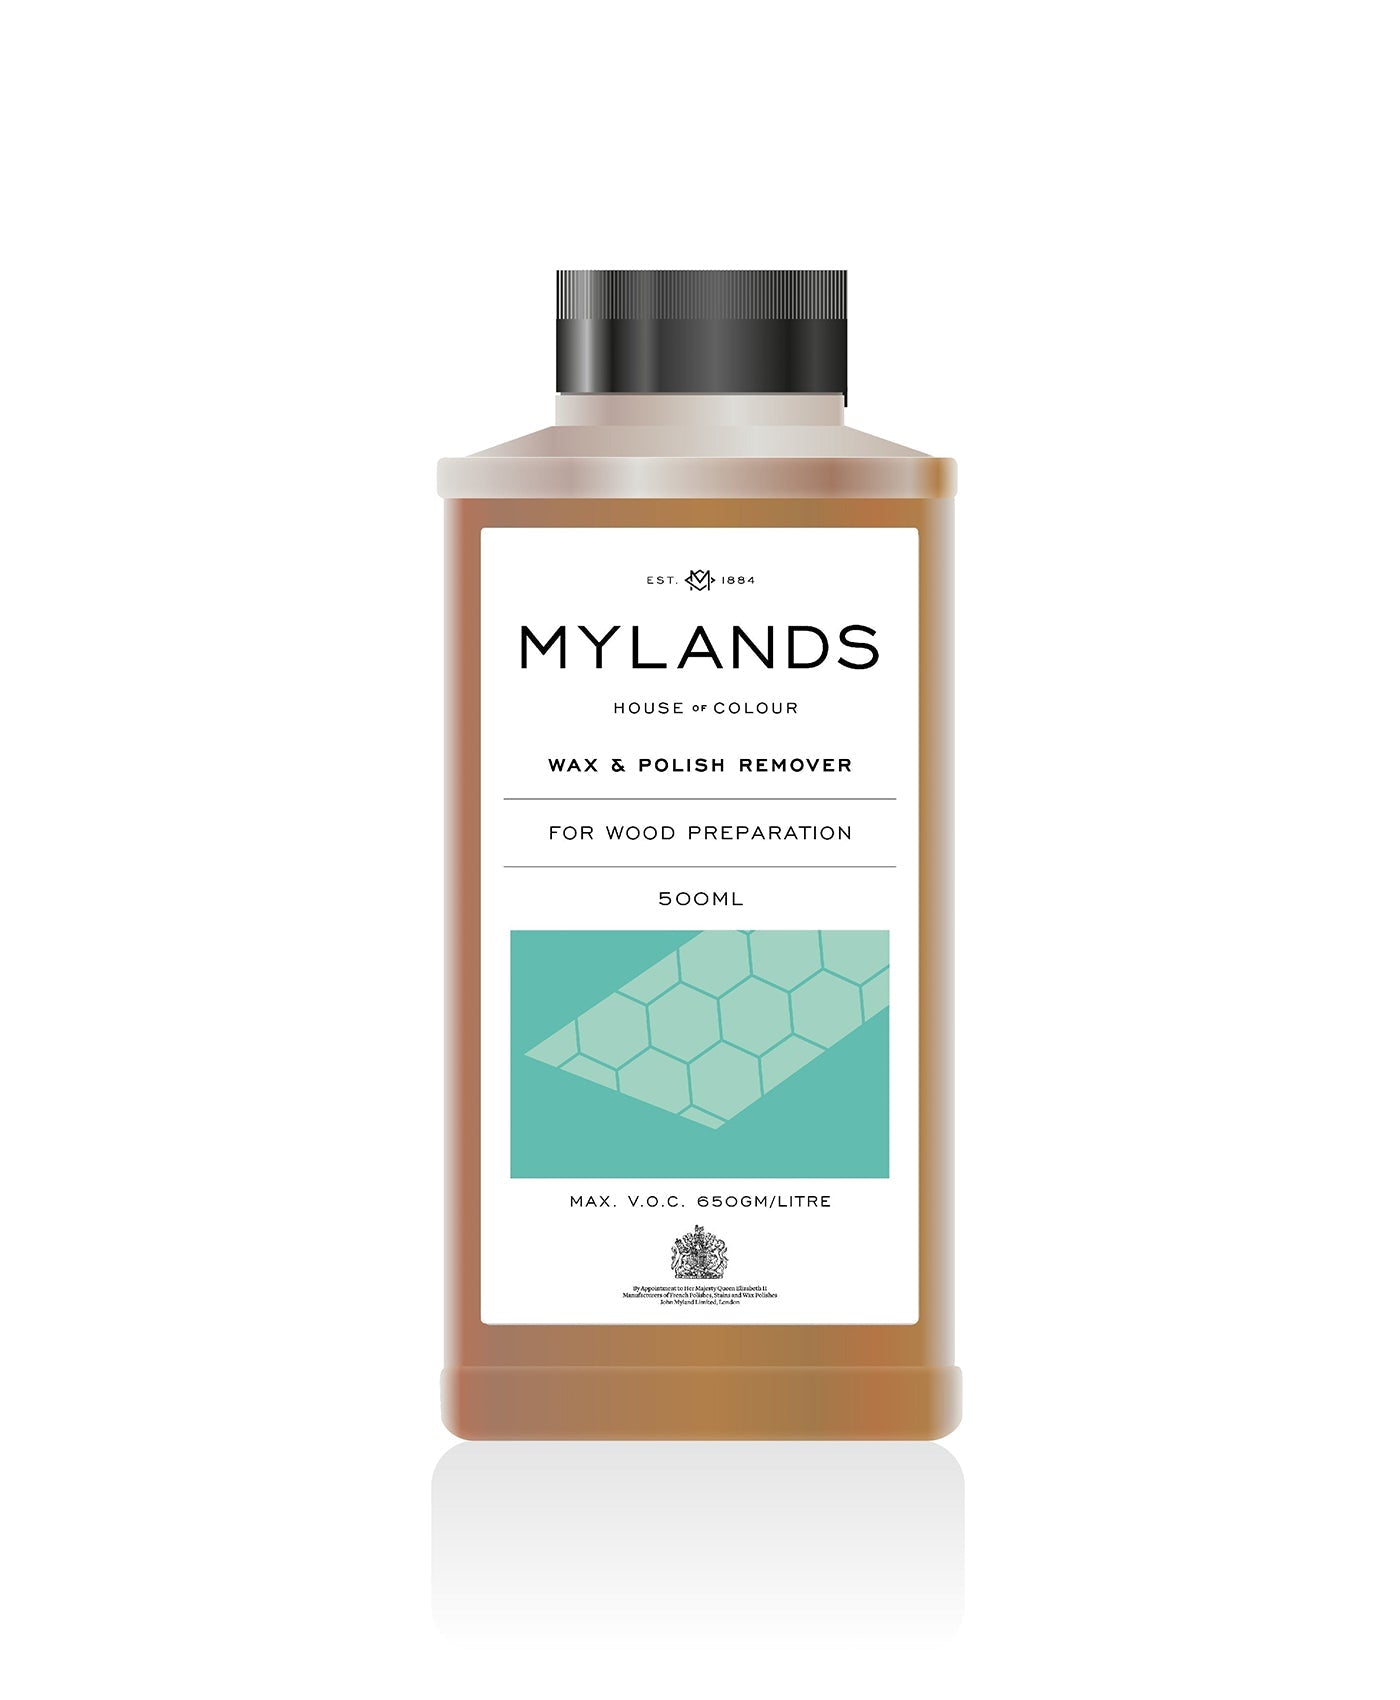
Stain only soaks into bare wood. Lift old wax with Wax and Polish Remover; strip and sand back varnish or lacquer.
-
Clean
Remove all dust, especially from the grooves, and let the wood dry.
Staining panelling
How to stain panelling
-
Protect the room
Cover floors and mask skirting, sockets and window frames.
-
Work from the top down
Drips then run onto unstained wood and can be blended in.
-
One or two boards at a time
Brush along the full length of each board. Never stop halfway, or you will get a lap mark.
-
Keep a wet edge
Work quickly enough that your last stroke is still wet when you start the next.
-
Wipe off the surplus
Use a clean, lint-free cloth along the grain to even out the colour and stop runs.
-
Get into the joints
Work stain into grooves, beads and mouldings with a small brush.
-
Build colour gradually
Two coats of a lighter colour give you more control than one strong coat.
-
Let it dry fully
Let the stain dry fully before the topcoat, and longer in cold or damp rooms.
Raised grain
Water Stains and Earth Stains raise the grain a little. Wipe the sanded boards with a damp cloth, let them dry and sand lightly again before staining.
Staining panelling
Finishing stained panelling
Know your wood
Oak or pine panelling?
From the Mylands Experts
The panelled room
Oak-panelled rooms were rarely left bare. They were coloured, polished and waxed by hand, and over the years took on the deep, glowing patina that makes them so warm to stand in. Take your time, test your colour on the real wood, and build the finish up gently.
Martin’s advice: don’t approve a stain while it is wet. Judge it dry, then judge it again once the topcoat is on.
Shop
For staining panelling

Questions
Walls and panelling questions
Can I paint fresh plaster?
Can I use Marble Matt in a bathroom?
Can I stain painted panelling?
How do I avoid streaks on tongue and groove?
Should I stain panelling before or after fitting?
What is the best stain for pine panelling?
Need advice?
Ask our team
Call us on 020 8670 9161, Monday to Friday, or visit our showroom in West Norwood. We make every tin, so we can answer almost anything.