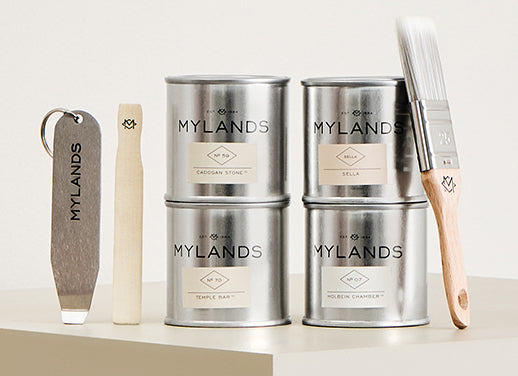

Our 5 top tips for a flawless finish
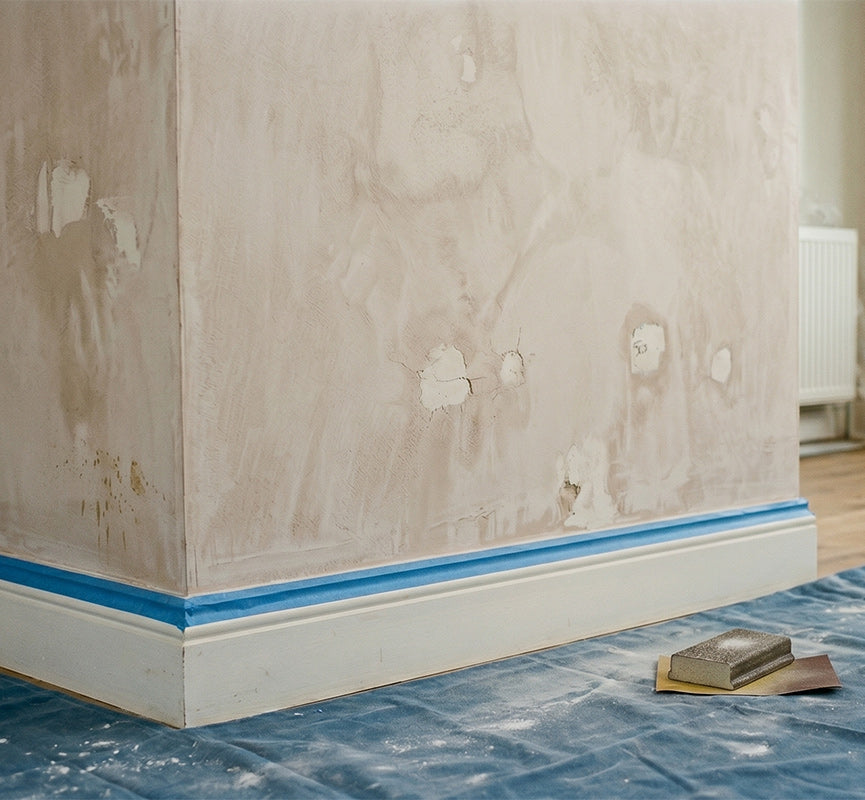
1. Before You Open the Tin - Prep Like a Pro
Most of the quality of your finish comes before any paint touches the wall.
What to Do:
- Clean all surfaces thoroughly. Dust, grease, and residue prevent proper adhesion.
- Repair imperfections: Fill cracks and holes, sand flush, and remove flaking paint.
- Check moisture levels—paint won’t adhere properly to damp plaster or wood.
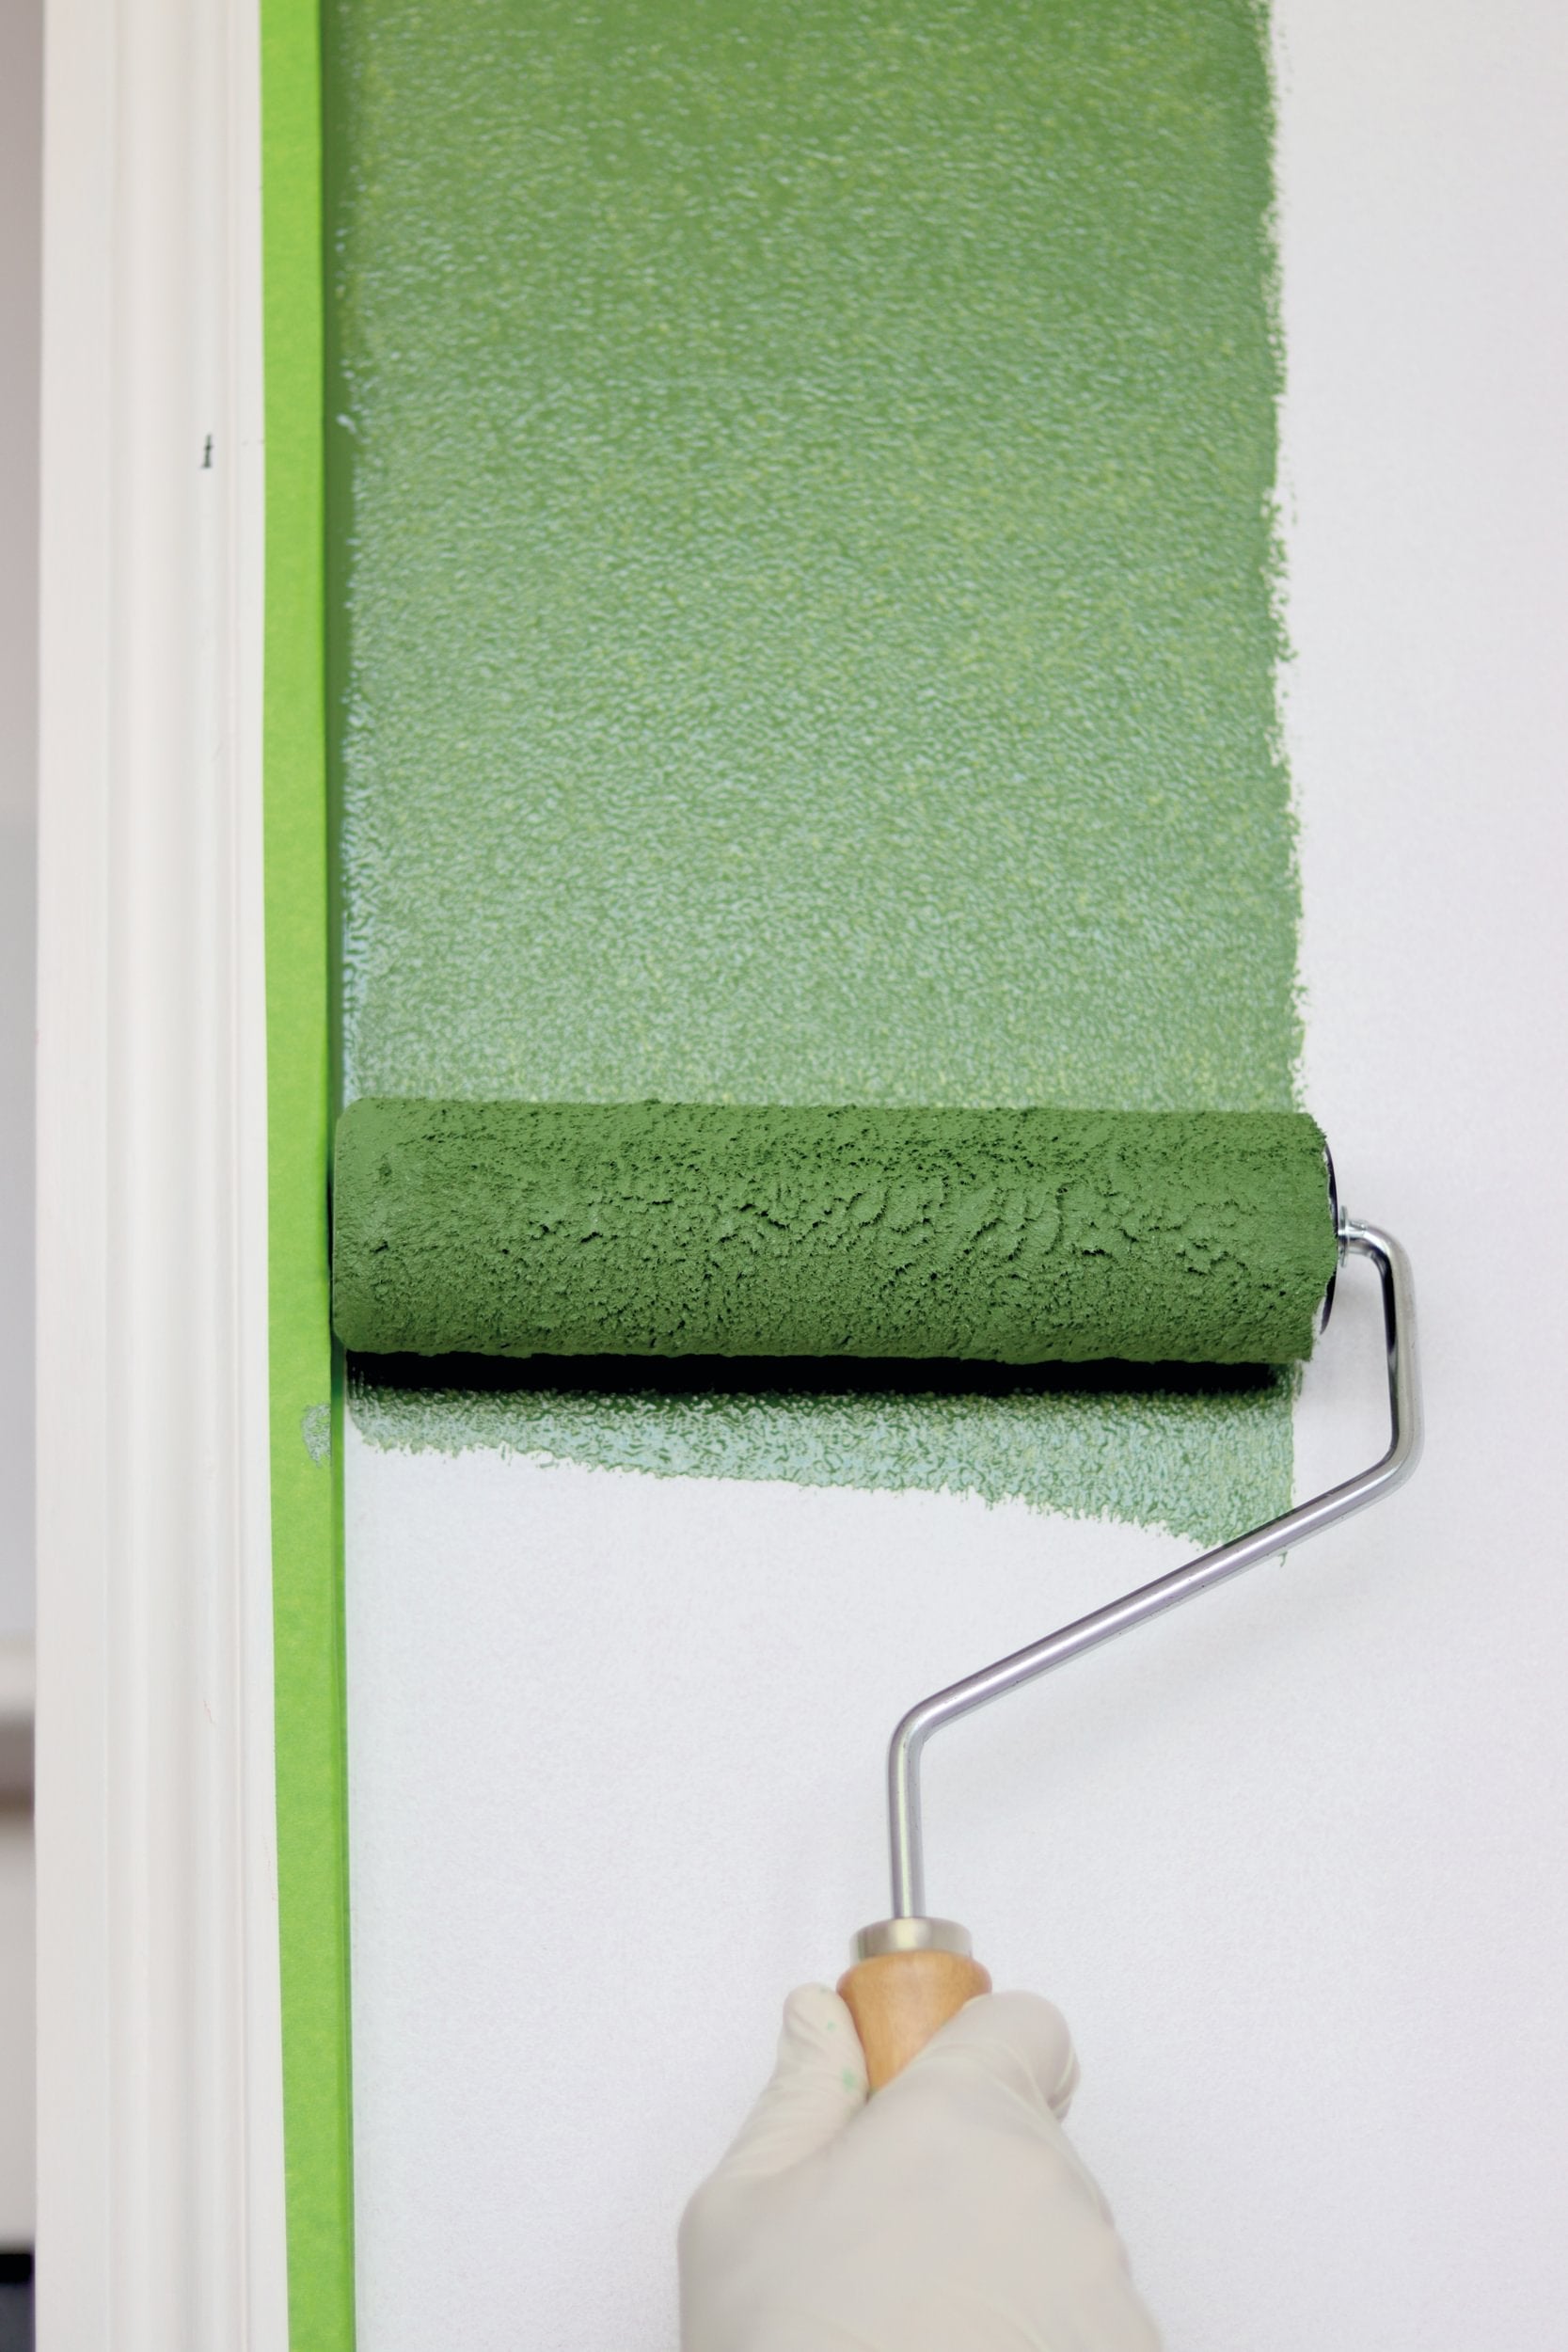
- Mask properly: Use good-quality painter’s tape and dust sheets. Time spent taping = cleaner edges.
Cheap masking tape can bleed paint underneath it.
Choose “low-tack professional painter’s tape” and press along the edge with a plastic card for sharp lines.
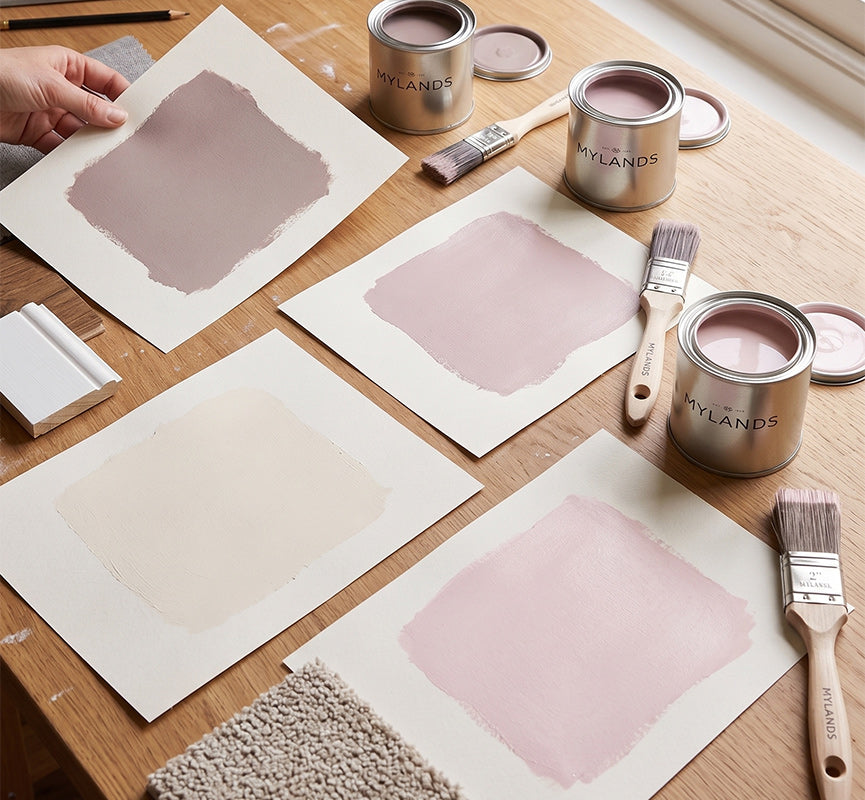
2. Test Your Samples the Smart Way
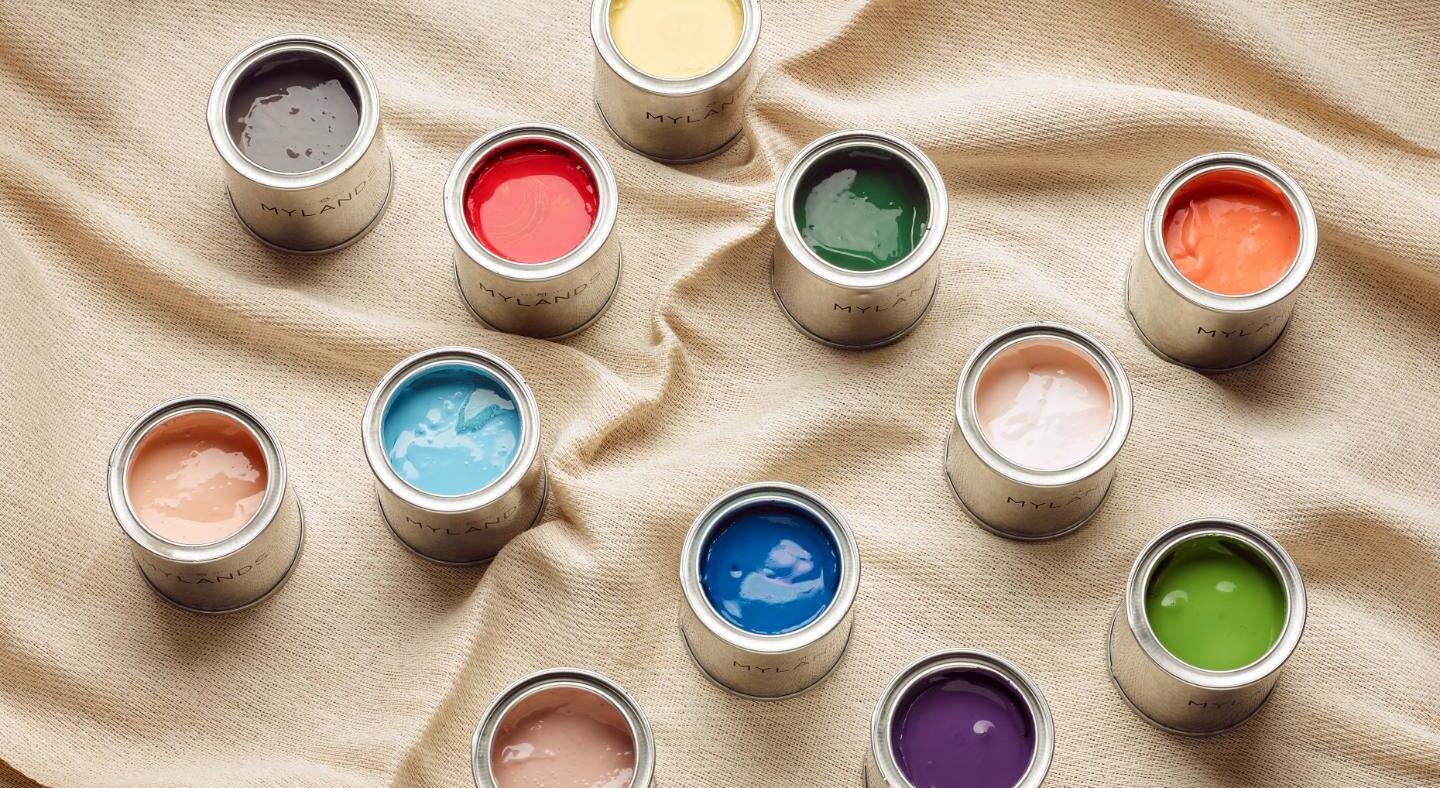
Choosing colour is one of the biggest decisions — and most people test incorrectly.
How to test samples properly:
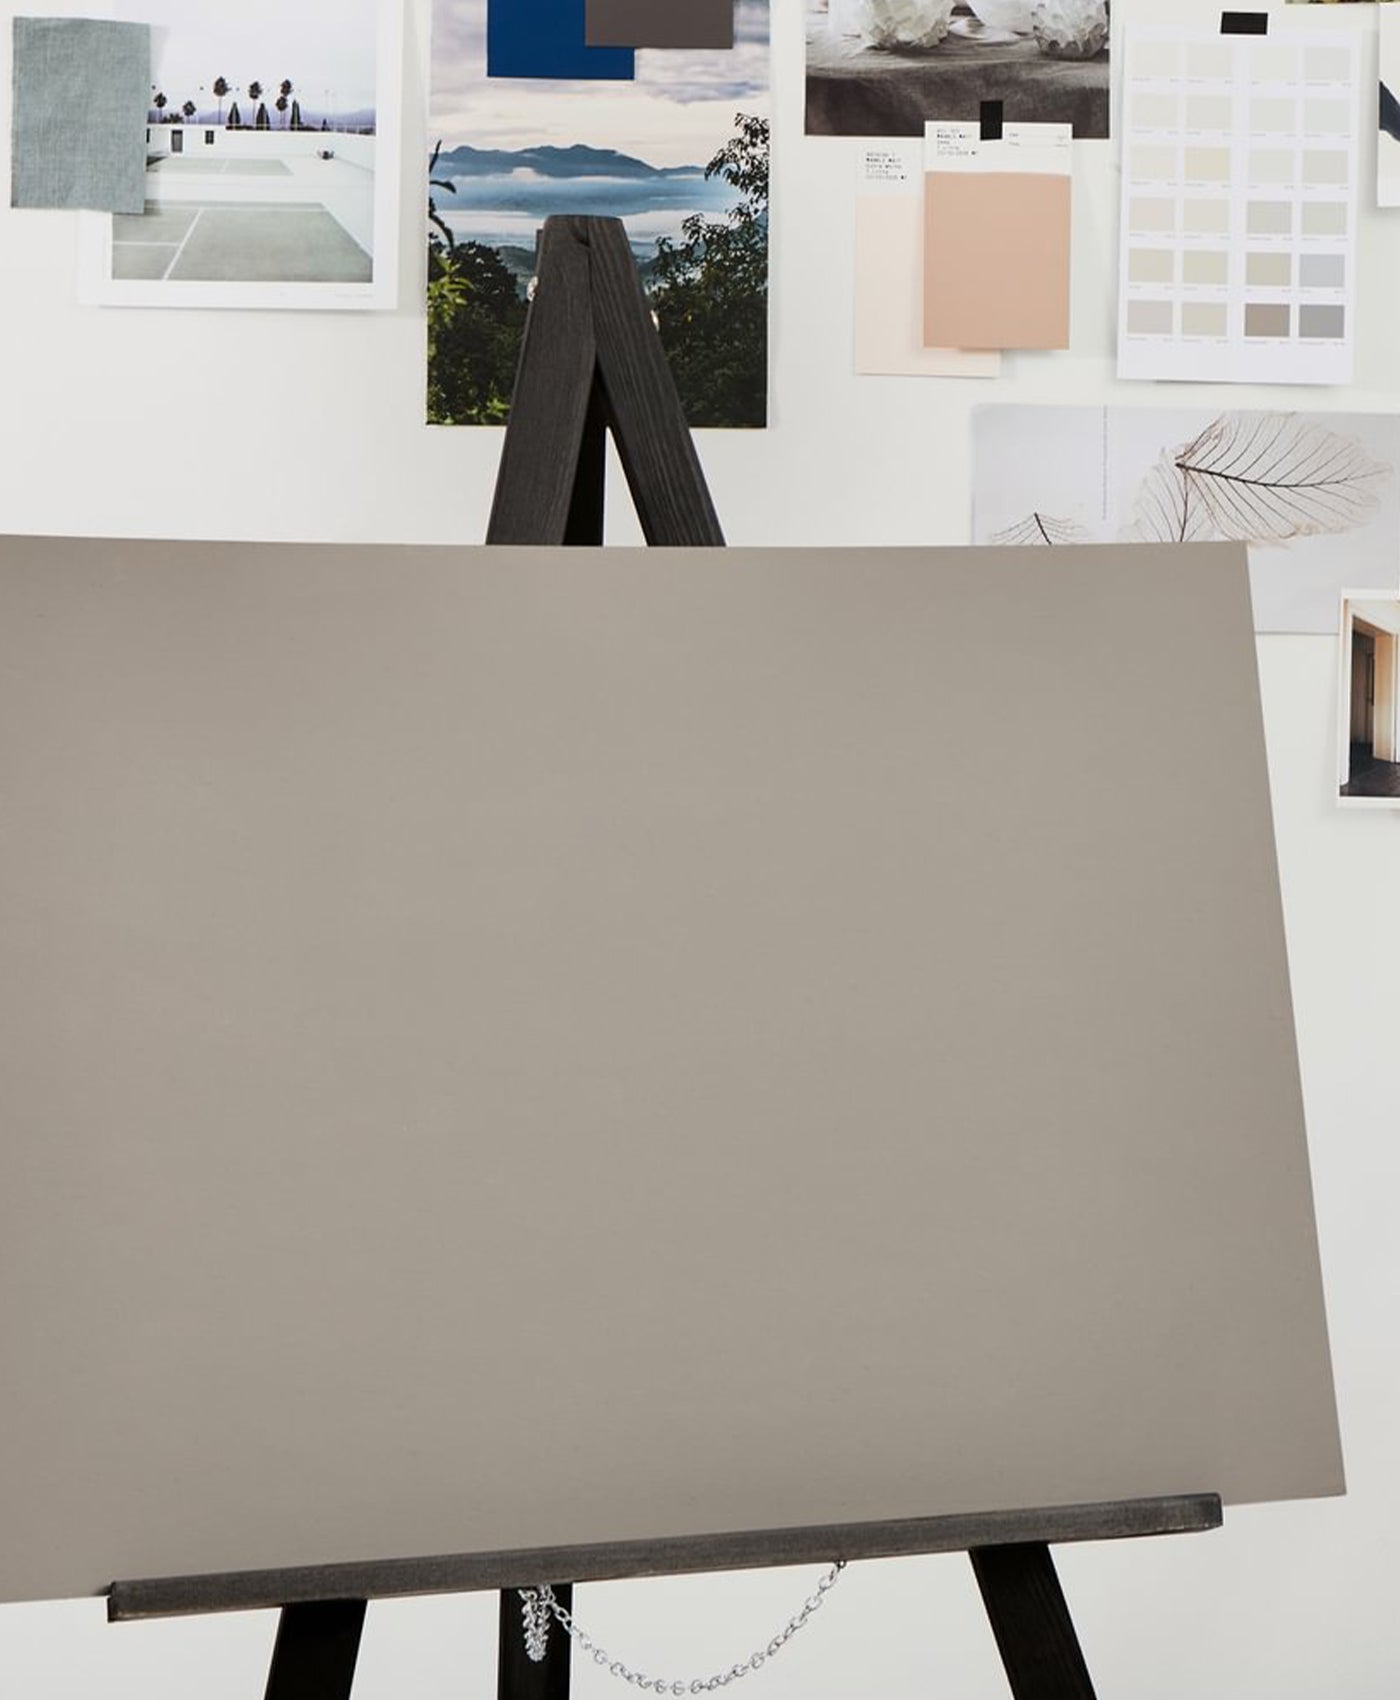
- Paint samples on large A4/50cm sheets of lining paper, not directly on the wall.
- This lets you move the swatches around the room to see how light changes them.
- Test in at least 3 lighting conditions: morning, mid‑day, and evening.
- Place samples next to furniture, flooring, and woodwork to see real-life contrasts.
Colours appear 1–2 shades darker over large areas.
That’s why a soft sample patch can look much bolder when the whole wall is coated.
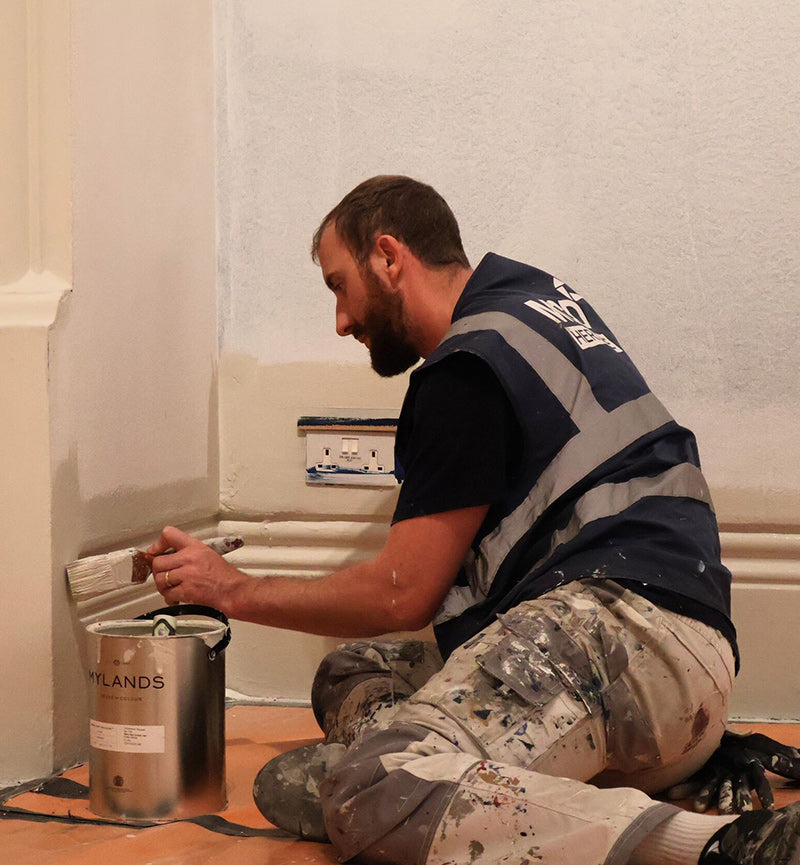
3. Your Finish Deserves the Right Start — Choose Mylands Primer & Undercoat
A flawless finish begins long before the topcoat. Skipping such a base coat is one of the most common DIYers mistakes.
Key Tips for Use:
- Exceptional adhesion to prevent chipping, peeling, or premature wear.
- Superior durability, helping your paintwork stand up beautifully over time.
- Fewer topcoat layers needed thanks to excellent opacity and surface preparation.
- Truer, richer, more even colour, especially for deep or dramatic shades.
A tinted undercoat matched to your final colour can dramatically improve coverage and ensure richer depth.
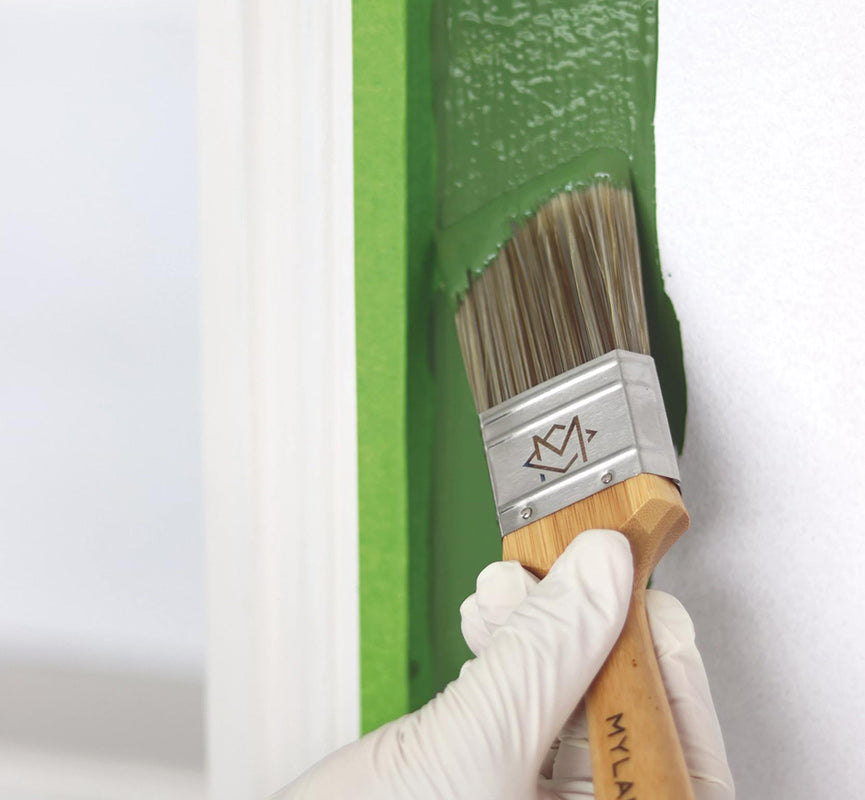
4. Application Guide
The tools you choose and the order of application matter.
Primer Application
- Always allow the surface to fully dry from cleaning/sanding.
- Apply evenly and let it cure—don’t rush this step.
Brush Technique
- Use a high-quality synthetic brush for cutting in.
- Keep a wet edge: avoid letting the paint dry mid‑stroke.
- Don’t overload the brush — it causes drips and visible streaks.
Roller Technique
- Choose microfibre rollers for smooth walls or medium-pile for textured walls.
- Roll in a “W” or “M” pattern to distribute paint evenly.
- Maintain consistent pressure for a uniform finish.
- Back‑roll lightly to remove roller lines.
Professional decorators lightly mist their roller with water before loading it with paint — this helps the roller glide and reduces texture marks.
5. Finishing Touches That Make It Look Professional
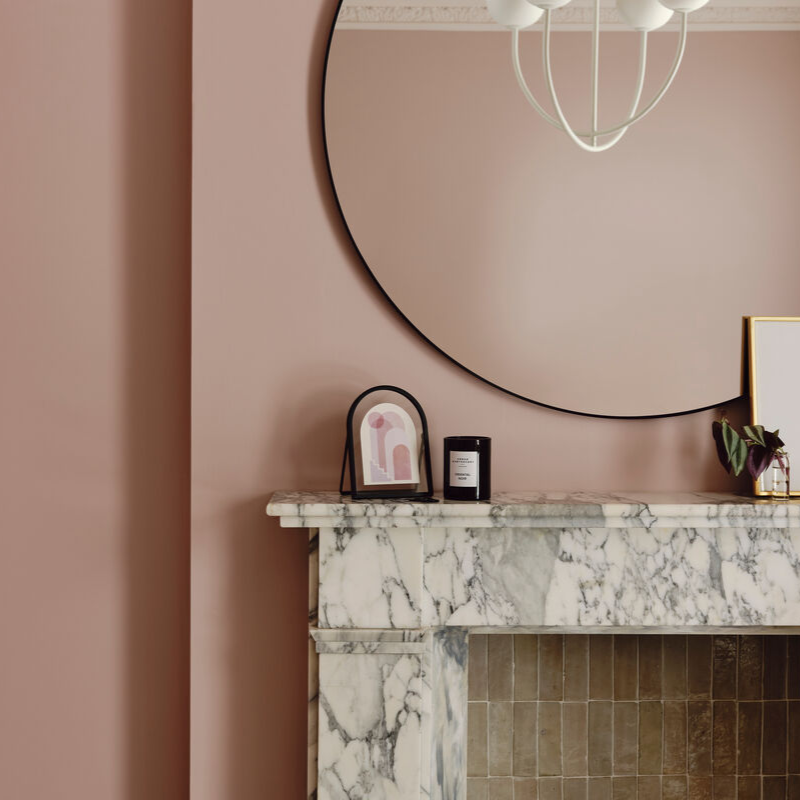
These final steps elevate the finish from “DIY” to “decorator-grade.”
- Remove tape before the paint fully dries — this prevents peeling.
- Inspect the surface under different lighting to catch missed areas.
- Allow proper curing time before moving furniture or cleaning walls.
- Store leftover paint in airtight containers for future touch‑ups.
Paint takes up to 30 days to fully cure - even though it feels dry in hours. So if you need to, don’t wipe the surface till after that period.
discover our signature paint collections