Paint
Painting, start to finish
Step 1 of 6 · Colour
Which colour, and how will you know it works?
Start with the room, then try colours at home before you commit.
Before you choose
Five things to think about
-
Mood
Do you want the room calm and tranquil, or dramatic and intimate? Soft, cool colours usually feel quieter; stronger colours create drama.
-
Function
A sociable kitchen or a formal dining room? Warmer, brighter and contrasting colours feel friendly; deeper blues, greens and neutrals feel more formal. Rooms you pass through, like halls and cloakrooms, can take a bolder choice.
-
Space
Warm colours (red, orange, yellow) seem to come towards you; cool colours (green, blue, lilac) recede. Use that to change the feel of a room’s shape.
-
Start small
Nervous about colour? Try it in a small room or on one wall first. You’ll see the result sooner and can change it more easily.
-
Flow
Think about how colours meet between rooms, especially if doors stay open. Let neighbouring colours harmonise or contrast, and give them a similar weight: a deep blue next to a pale pink feels unbalanced; softer shades of both flow.
Try it at home
Colour tools
Online
Palette builder
Collect colours into a palette, see the colours that pair with them, and order samples of the set.
Build a palette: Palette builderOnline
Curated palettes
Ready-made palettes to start from, such as the Colour of the Year 2027 and Colours of London neutrals.
Browse palettes: Curated palettes£5.75
Sample pots
100 ml of Marble Matt Emulsion in every colour, enough for about 1.5 m². Jinny Blom samples are Multi-Surface Dead Matt.
Order sample pots: Sample potsFree
Colour cards
Every swatch painted in real Mylands paint. For a closer look: the Fan Deck or the Box of Colour, with A5 swatches.
Order colour cards: Colour cards
Testing
How to test a colour
-
Paint a large sample
Paint a big sheet of thin card rather than a small patch on the wall, so you can move it around.
-
Put it on the wall
Hold it upright on each wall you’ll paint, not flat on a table: colour changes with the light falling on it.
-
Look all day
Check it in the morning, the afternoon and under lamps, once it’s fully dry.
-
Look with your things
See it next to your fabrics, curtains, door frames, flooring and furniture. Then order your paint with confidence.
Questions
Colour FAQs
How accurate are the colours on screen?
Are sample pots available in every finish?
How much does a sample pot cover?
What’s the difference between a Colour Card, Fan Deck and Box of Colour?
Step 2 of 6 · Finish
Which paint and finish for your surface?
The surface decides the paint; the finish decides how it looks and how easily it wipes clean.
Our paints
What are you painting?

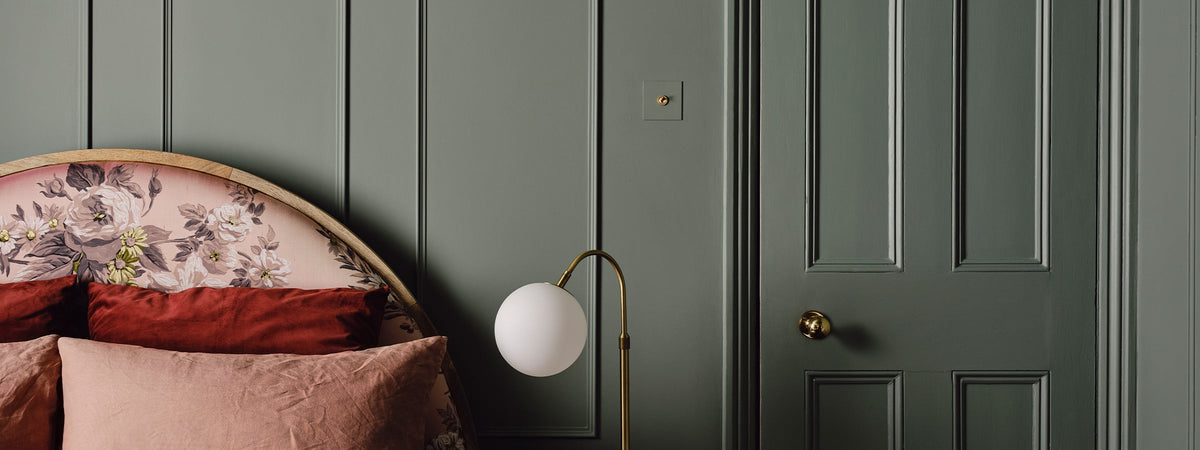
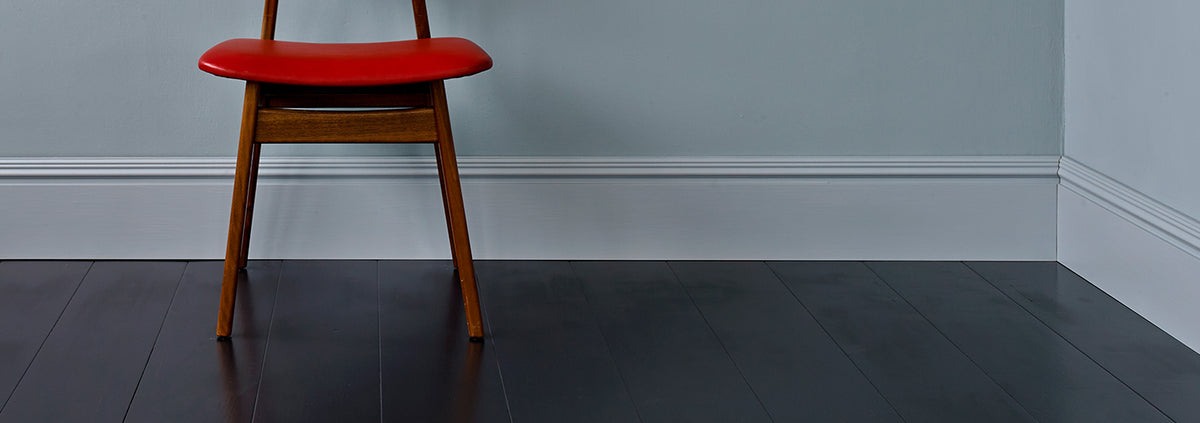
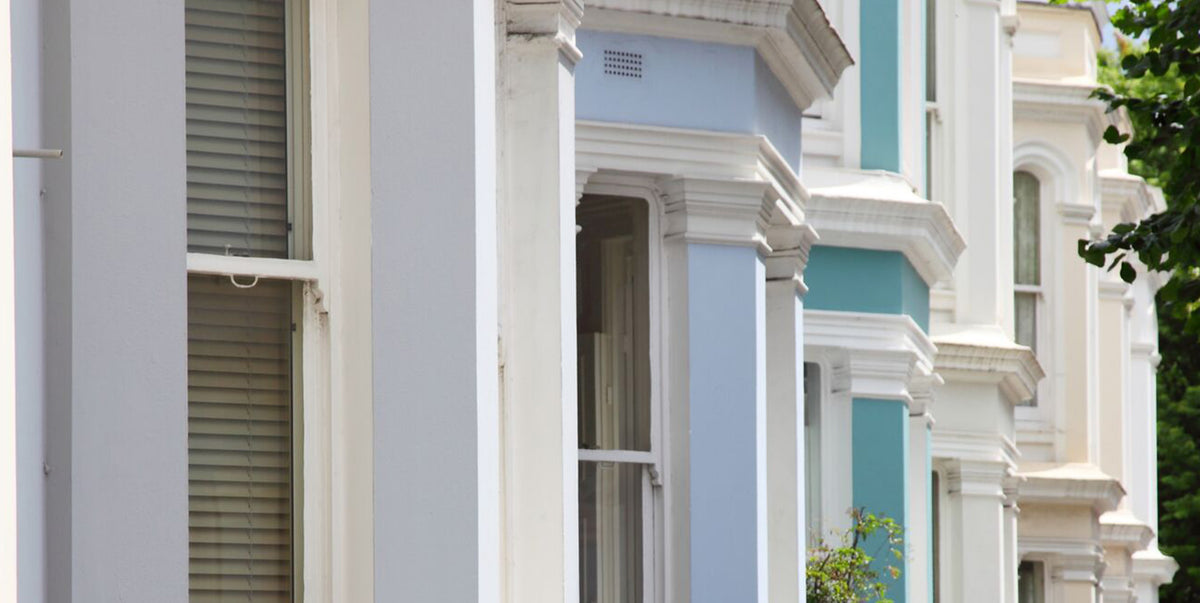
Side by side
Every finish compared
| Finish | Sheen | Coverage | Touch dry | Recoat | Inside or out | Best for |
|---|---|---|---|---|---|---|
| Marble Matt | 15 m² per litre | 1 to 2 hours | 3 to 4 hours | Inside | Walls and ceilings, including kitchens and bathrooms | |
| Multi-Surface Dead Matt | 14 m² per litre | 1 to 2 hours | 3 to 4 hours | Inside and out | Woodwork, metal and walls, for a completely flat colour drench | |
| Multi-Surface Eggshell | 14 m² per litre | 1 to 2 hours | 3 to 4 hours | Inside and out | Woodwork, kitchen cupboards, furniture and radiators | |
| Multi-Surface Satin | 14 m² per litre | 1 to 2 hours | 3 to 4 hours | Inside and out | Woodwork and metal, with a soft lustre | |
| Multi-Surface Gloss | 14 m² per litre | 1 to 2 hours | 3 to 4 hours | Inside and out | Woodwork and metal, with a traditional high shine | |
| Floor Paint | 15 m² per litre | 2 to 3 hours | 3 to 4 hours | Inside | Wooden floors, but not concrete or cement | |
| Masonry Paint | 15 m² per litre | 1 to 2 hours | 4 hours | Outside | Outside walls, brickwork and render, but not limewash or lime render |
Coverage is per coat; two coats are recommended. Drying times are in normal conditions and take longer when it's cool or humid. Figures from each paint's technical data sheet.
Step 3 of 6 · Quantity
How much paint do you need?
Work out how many tins to order, and buy them all at once.
The sum
Area × coats ÷ coverage = litres
Calculator
Let us do the sum
The same calculator is on every paint page, set to that paint’s coverage.
Please enter a wall width and height greater than zero.
Measuring
Four steps to the right amount
-
Measure each wall
Width × height for each wall, then add them up. For a ceiling, length × width of the room.
-
Take off doors and windows
Measure the big openings and subtract them. Leave small ones in: a little extra is useful for touching up.
-
Multiply by the coats
Two coats for most jobs. Darker and stronger colours, or a big change of colour, may need a third.
-
Divide by the coverage
Use the table below, then round up to the tins you need.
Coverage
Coverage by paint
Per litre, per coat, from the Mylands Usage Guidelines and data sheets. Porous, textured or bare surfaces take more.
| Paint | Coverage per litre | Recoat after |
|---|---|---|
| Marble Matt Emulsion | 15 m² | 3 to 4 hours |
| Multi-Surface Paint (Dead Matt, Eggshell, Satin, Gloss) | 14 m² | 3 to 4 hours |
| Floor Paint | 15 m² | 3 to 4 hours |
| Masonry Paint | 15 m² | 4 hours |
| Metallic Paint | 6 to 8 m² | 2 to 3 hours |
| Wall Primer | 10 to 12 m² | 3 to 4 hours |
| Multi-Surface Primer | 12 m² | 3 to 4 hours |
| Stabilising Primer | 6 to 8 m² | Touch dry in 3 to 4 hours |
Tins: 250 ml, 1, 2.5 and 5 litres (Multi-Surface Satin and Gloss from 1 litre; Masonry Paint in 5 litres). Sample pots are 100 ml, enough for about 1.5 m².
Ordering
Buy it all at once
Questions
Quantity FAQs
How much does a sample pot cover?
Will I need more paint for a dark colour?
Do I count the primer separately?
Why does my wall need more than the calculator says?
Can I mix tins from different orders?
Step 4 of 6 · Preparation
Preparing the room and the surface
Get the room ready, check the conditions, and prime anything that needs it.
Before you paint
Preparing the room
-
Clear the space
Move out as much furniture as you can. Gather anything that has to stay in the middle of the room and cover it with dust sheets.
-
Inspect and repair
Look for cracks, chips and peeling paint: they will show through the finish. Fill holes, smooth them with a filling knife and let the filler dry.
-
Sand
Sand filler, flaky plaster and peeling edges smooth with fine paper, so the colour sits on an even surface.
-
Clean
Wipe the walls with mild soap and water, rinse with a damp sponge and let them dry fully. The surface must be clean and free of dust, grease and loose flakes.
-
Prime what needs it
New plaster, lining paper, bare wood and metal, and powdery surfaces need a primer. Which one depends on the surface: see the table below.
-
Mask the edges
Run painter’s tape along trims, skirtings and fittings for crisp, clean lines.
-
Clear up
Vacuum the dust from your preparation before you open a tin.
Before you paint
Choosing a primer
Which primer for my surface?
| Your surface | Mylands primer | Why |
|---|---|---|
| New or bare plaster, once fully dry | Wall Primer | Seals the plaster so Marble Matt goes on evenly. It’s micro-porous, so the wall stays breathable. |
| Unpainted lining paper | Wall Primer, with up to 10% water | One coat in the tint for your colour, then two coats of paint. |
| Lime plaster, once fully dry | Stabilising Primer | Then Marble Matt, which is breathable. Multi-Surface paints aren’t, so keep them off lime. |
| Powdery or chalky plaster | Stabilising Primer | Binds the surface so the paint doesn’t soak in patchily. |
| Bare wood, MDF and metal, inside or out | Multi-Surface Primer | Grips and seals: two coats on new surfaces, one on painted wood. Seal knots with knotting first. |
| Bare wooden floors | Multi-Surface Primer | Then two coats of Floor Paint. Seal any knots first. |
| Powdery or porous masonry outside | Stabilising Primer | Then Masonry Paint. Wall Primer is for inside walls only. |
Primer & Undercoat comes in white and 10 tints, as Wall Primer or Multi-Surface Primer. Each colour’s page suggests the tint that sits best under it, so you need fewer coats.
New plaster
Primer or mist coat?
Applying
How to apply a primer
-
Prepare
Make sure the surface is clean, dry and free from dust, grease and anything loose.
-
Stir
Stir the primer thoroughly before you start.
-
Apply
Use a brush or roller. If it needs thinning, add no more than 10% water.
-
Let it dry
Wall Primer and Multi-Surface Primer are ready to paint over in 3 to 4 hours. Stabilising Primer is touch dry in 3 to 4 hours, depending on temperature and humidity.
-
Paint
Apply two coats of your Mylands paint for the full depth of colour.
Clean up
Wash brushes and rollers straight after use in warm water with a little detergent.
Questions
Primer FAQs
Can I use Wall Primer outside?
Do I need to prime a wall that’s already painted?
What’s the difference between Wall Primer and Multi-Surface Primer?
Which primer tint should I choose?
How long before I can paint over primer?
Do I need to seal knots?
Step 5 of 6 · Application
Applying your paint
Two coats, the right wait between them, and the steps for your surface.
Painting
Step by step
-
Stir well
Stir the paint thoroughly before you start, and again if you stop for a while.
-
Check the conditions
Paint between 8°C and 30°C, never in extremes. Paint dries more slowly in cool or humid rooms.
-
Cut in
Brush a band of paint along the ceiling line, corners, skirting and around fittings first.
-
Roll
Roll the open wall in sections, keeping a wet edge so the coats blend without lap marks.
-
Second coat
Recoat after 3 to 4 hours. Two coats give the full depth of colour; darker and stronger colours may need a third.
-
Clean up
Wash brushes and rollers straight after use in warm water with a little detergent.
Curing
Marble Matt is touch dry in 1 to 2 hours, but some darker colours take up to 14 days to reach full hardness. Treat new paintwork gently for the first fortnight.
How long between coats?
| Paint | Touch dry | Recoat |
|---|---|---|
| Marble Matt Emulsion | 1 to 2 hours | 3 to 4 hours |
| Multi-Surface Paint | 1 to 2 hours | 3 to 4 hours |
| Floor Paint | 2 to 3 hours | 3 to 4 hours |
| Masonry Paint | 1 to 2 hours | 4 hours |
From the data sheets. Stir well before you start. Two coats as standard; darker or stronger colours may need more, and paint dries more slowly in cold or damp conditions.
Your surface or project
The steps for your surface
-
Doors, woodwork and stairs
Multi-Surface, or a wood finish
Read the guide: Doors, woodwork and stairs -
Kitchens and furniture
Cabinets, tables and chairs
Read the guide: Kitchens and furniture -
Outside
Masonry, wood, metal, garden furniture
Read the guide: Outside -
Removing water marks
Rings and marks on finished wood
Read the guide: Removing water marks -
Restoring old furniture
Clean, revive and re-finish
Read the guide: Restoring old furniture -
Stop your wooden floors turning orange
How to achieve a raw wood finish for floors
Read the guide: Stop your wooden floors turning orange -
Walls, ceilings and panelling
Plaster, lining paper, lime; panelling
Read the guide: Walls, ceilings and panelling -
Wooden floors
Floor Paint, or oil, wax and lacquer
Read the guide: Wooden floors -
Worktops and chopping boards
Oils that are safe around food
Read the guide: Worktops and chopping boards
Questions
Painting FAQs
How many coats do I need?
How long should I leave between coats?
Can I paint in a cold room?
Can I use Marble Matt in a bathroom?
How do I clean my brushes and rollers?
Step 6 of 6 · Aftercare
Aftercare: when it’s ready, and looking after it
When you can use the room again, keeping painted surfaces clean, and your tools and leftover paint.
When can you use the room again?
| Paint | Ready for |
|---|---|
| Floor Paint | Light use after 24 hours; fully cured after 7 days |
| Marble Matt Emulsion | Darker colours can take up to 14 days to reach full hardness |
From the data sheets.
Looking after painted surfaces
Cleaning your brushes and rollers
-
Straight away
Wash brushes and rollers as soon as you finish, in warm water with a little mild detergent.
-
Until it runs clear
Work the paint out of the bristles or the roller until the water runs clear.
-
Rinse and reshape
Rinse well, reshape your brushes and let them dry naturally.
-
Don’t let it dry
Paint left to dry on your tools spoils the finish next time.
Storing leftover paint
Next step
Where to go next
By surface & project
Your surface or project
The preparation and painting steps for your surface
Pick your surface: Your surface or projectWood care
Finishing wood instead?
Oils, waxes, French polish, stains and lacquers
Go to wood care: Finishing wood instead?Product information
Data and safety sheets
Coverage, drying and safety for every product
Find a sheet: Data and safety sheets
Need advice?
Ask our team
Call us on 020 8670 9161, Monday to Friday, or visit our showroom in West Norwood. We make every tin, so we can answer almost anything.