How to Prepare a Room for Painting
At Mylands, we believe that true beauty begins long before the first brushstroke. Preparation is the foundation of a flawless finish, ensuring our richly pigmented paints reveal their full depth, clarity, and durability. By taking time to prepare your room and surfaces with care, you’ll elevate your decorating experience and achieve results of exceptional quality.

Step-by-Step Guide
Step 1: Prepare the Space
Remove as much furniture as possible to give yourself room to work. If larger pieces can’t be moved, gather them in the centre of the room and protect them with dust sheets. The clearer the space, the smoother the process.
Step 2: Inspect & Repair
Examine your walls for cracks, chips, or peeling paint. Any imperfections will show through the final finish, so address them now. Fill holes carefully, smooth with a filling knife, and allow them to dry before sanding down to remove rough, uneven texture and help you achieve a flawless surface.
Step 3: Sand with Precision
Use fine sandpaper to refine any uneven areas, flaky plaster, or peeling paint. A smooth foundation is essential for the richness of colour to shine.
Step 4: Clean the Walls
Wipe down surfaces using mild soap and water. Rinse with a damp sponge to remove residue, then leave the walls to dry fully.
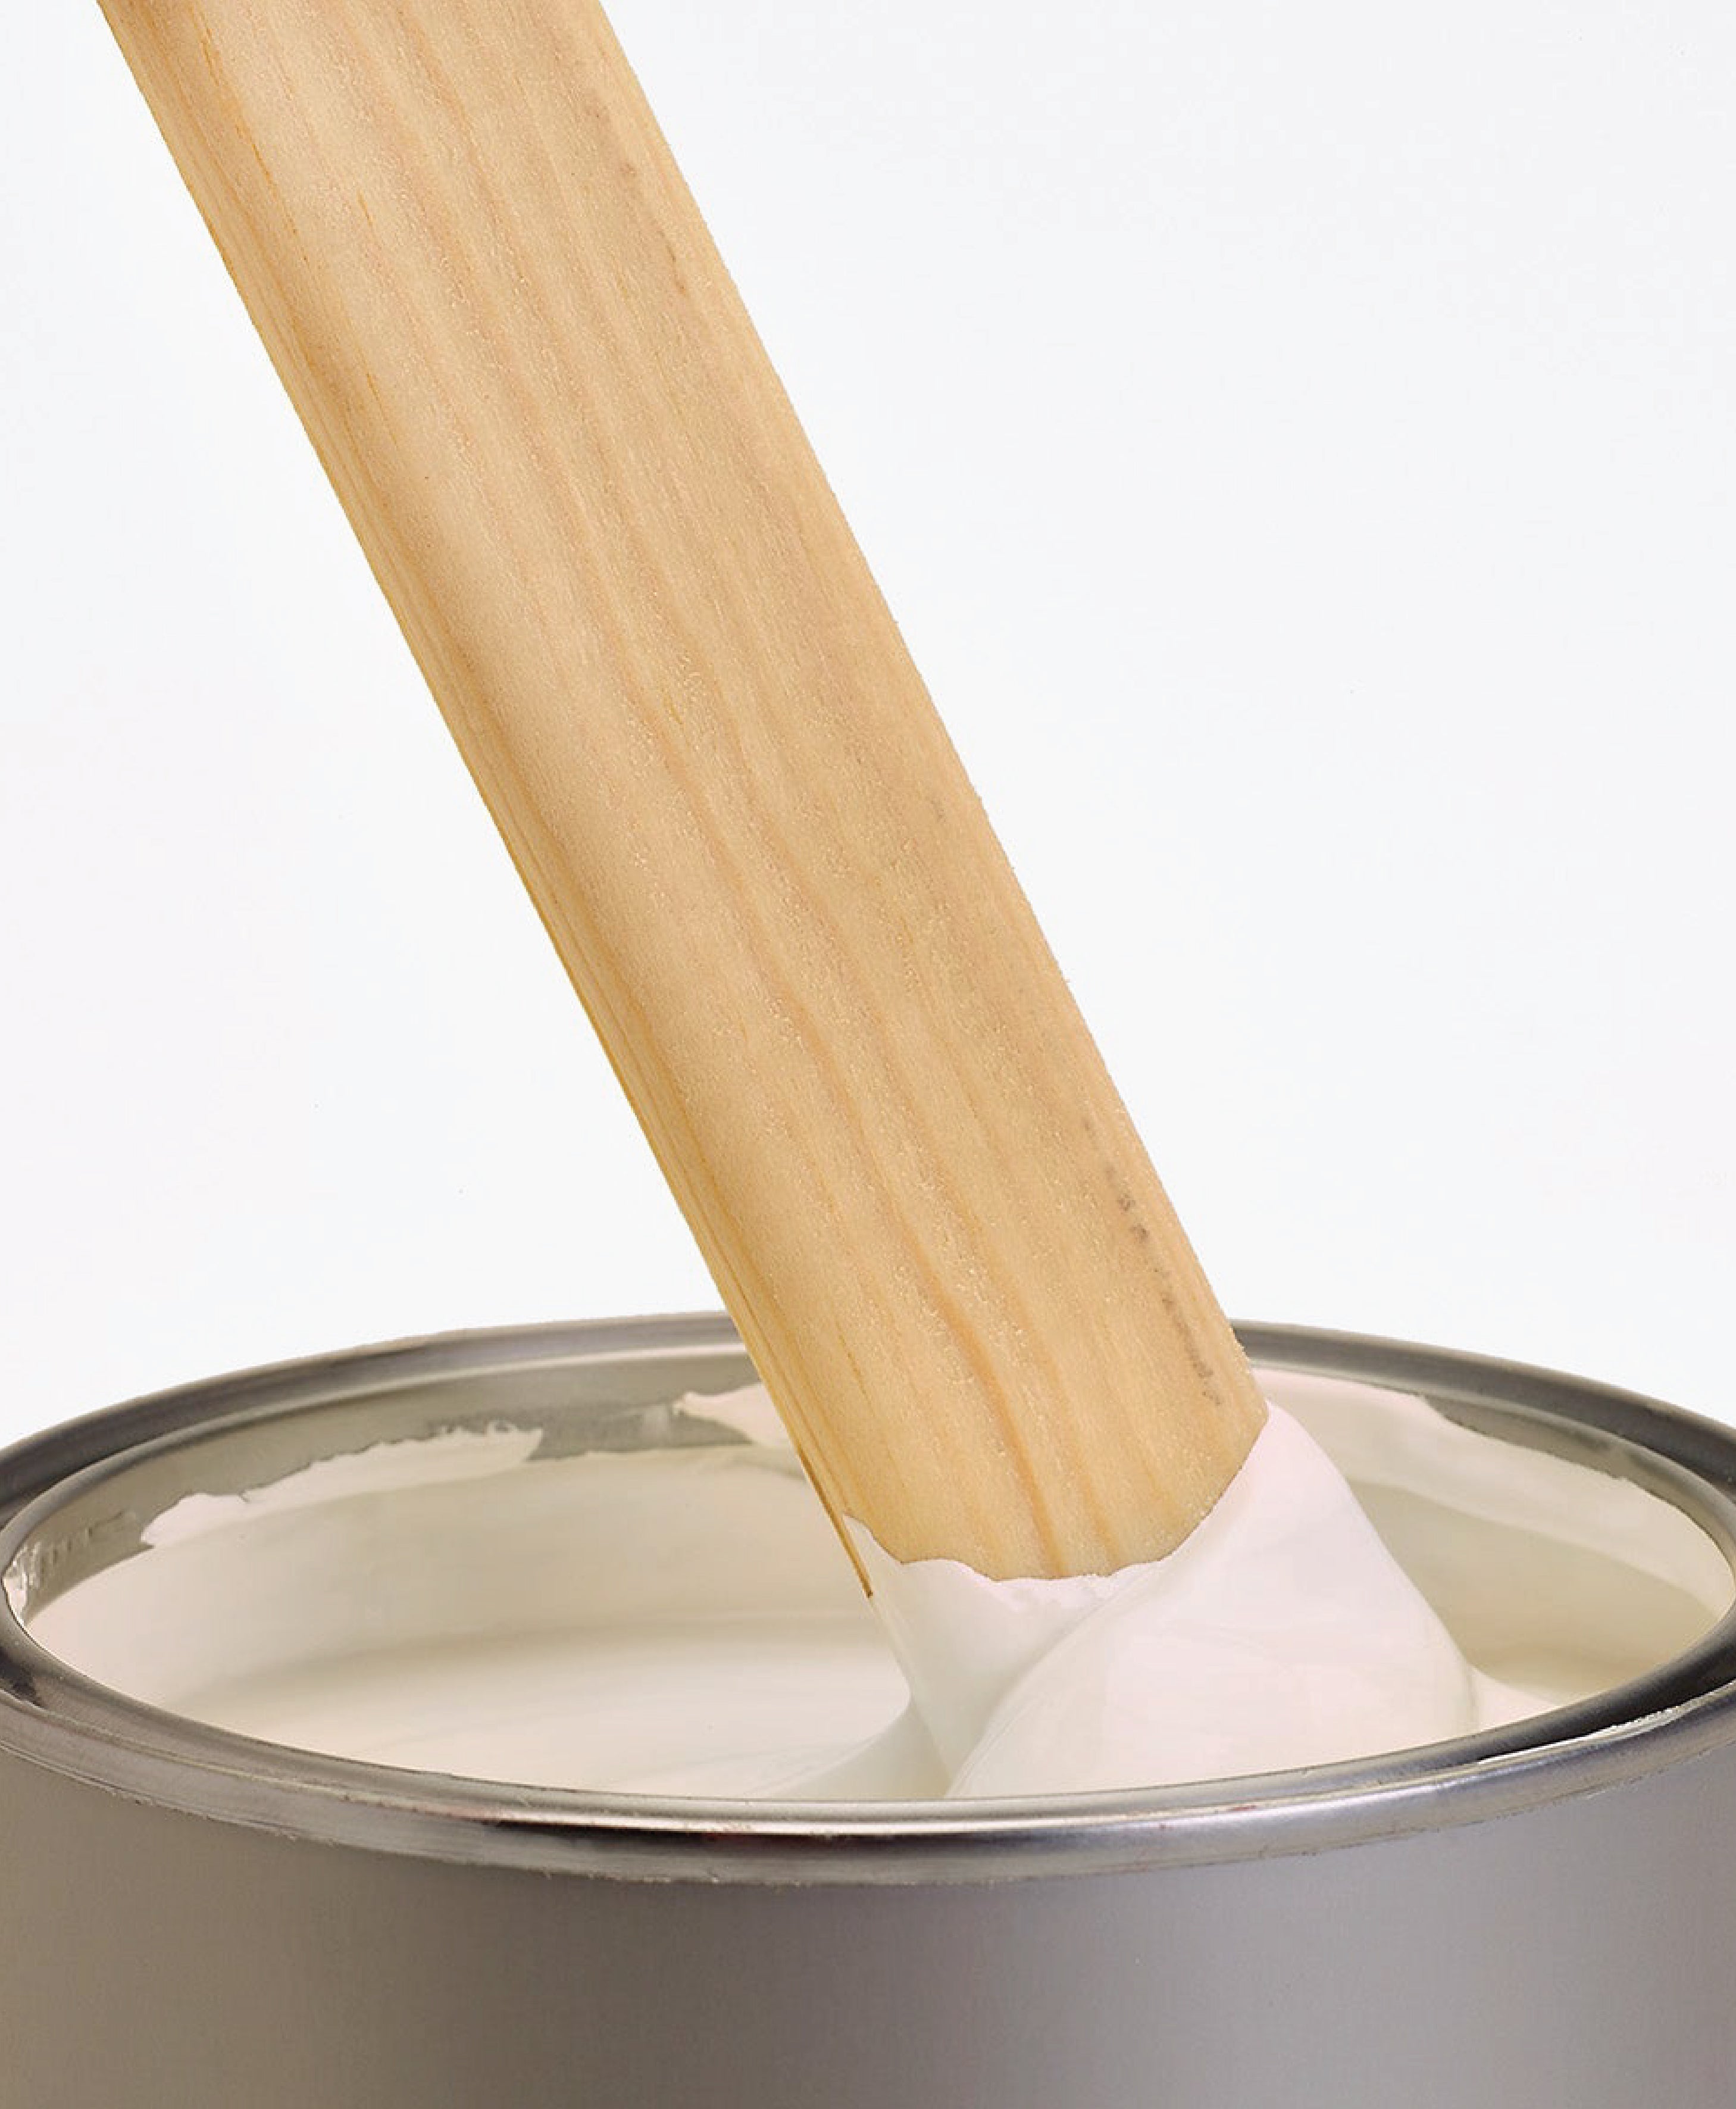
Step 5: Prime with Care
Priming prepares your walls to receive colour beautifully. Our Mylands primers & undercoats are specially formulated to be used with our paints.
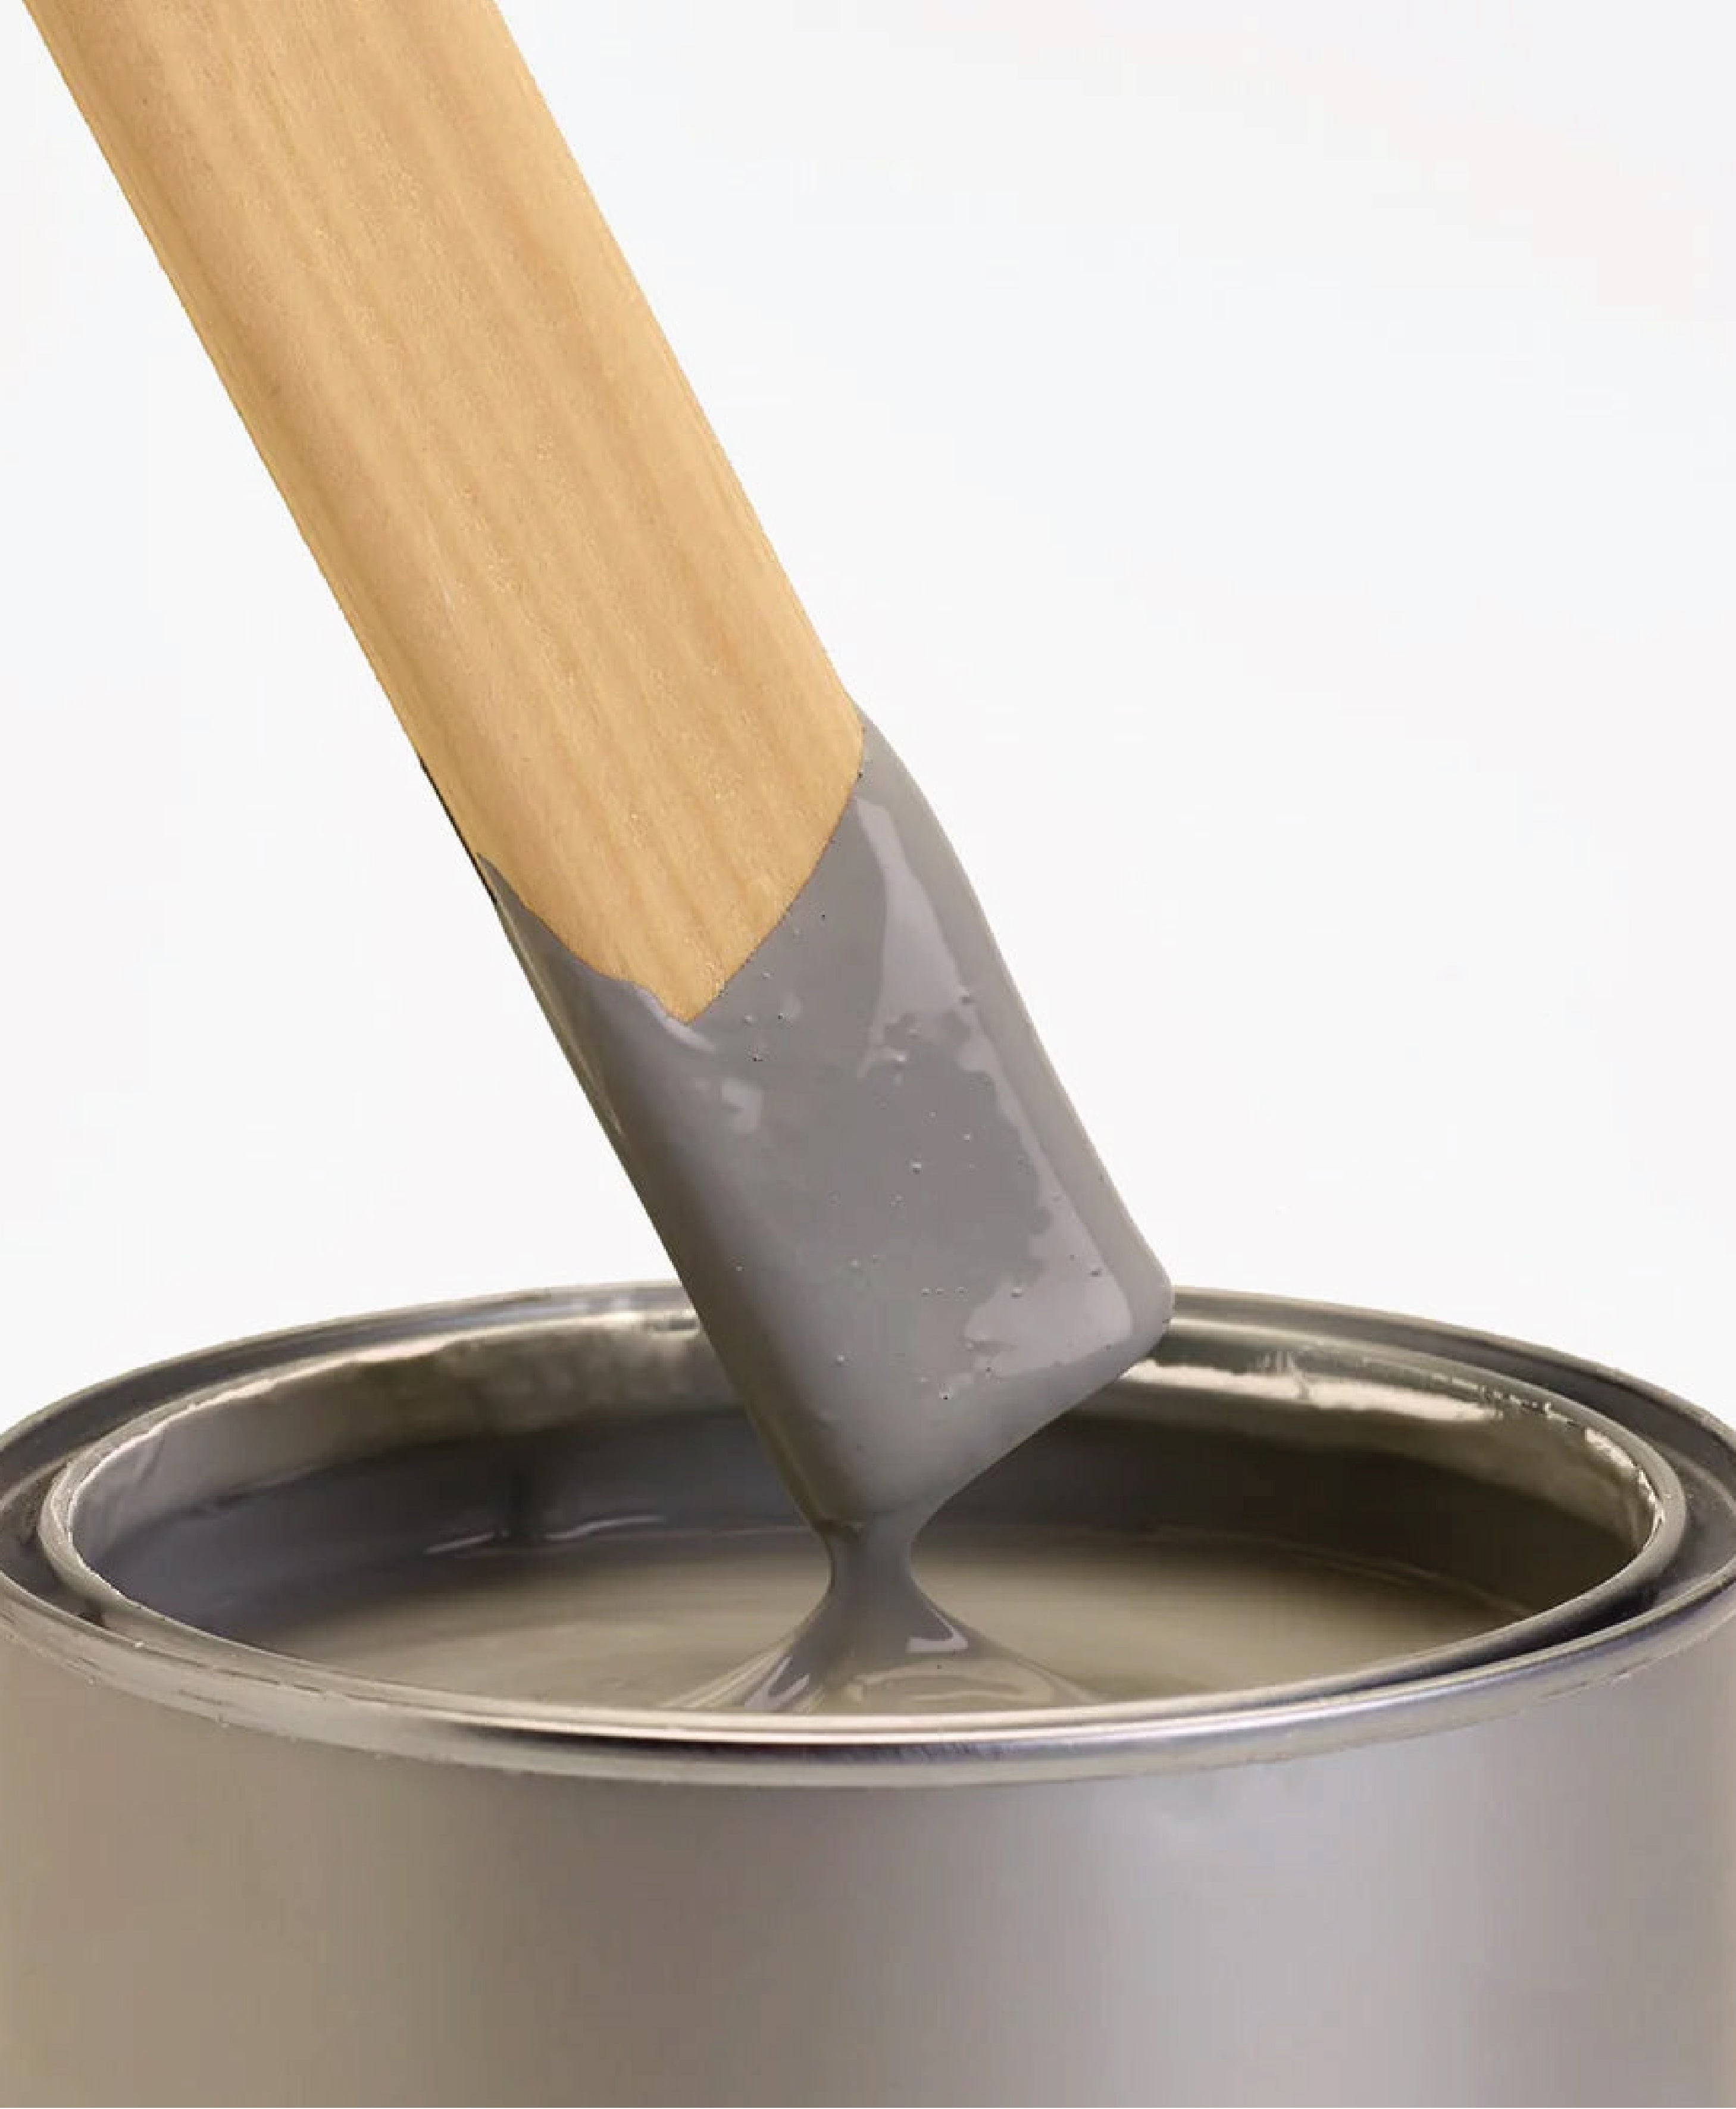
Choose the correct Mylands primer
RECOMMENDED PRIMERS FOR YOUR SURFACE
Fresh Plaster → Mylands Multi-Surface Primer to seal and prevent patchiness.
Lining Paper → A light coat of Multi-Surface Primer to reduce the risk of visible joins.
Wood & Metal → Use Multi-Surface Primer to seal the surface and for better adhesion and durability.
Lime Plaster → Allow to dry thoroughly before applying Stabilising Primer for a breathable, even base.
Wooden Flooring → Use Multi-Surface Primer to seal the surface get the most from your floor paint.
Brickwork → Clean thoroughly, then apply Stabilising Primer to bind dust and seal the surface.

Step 6: Perfect the Details
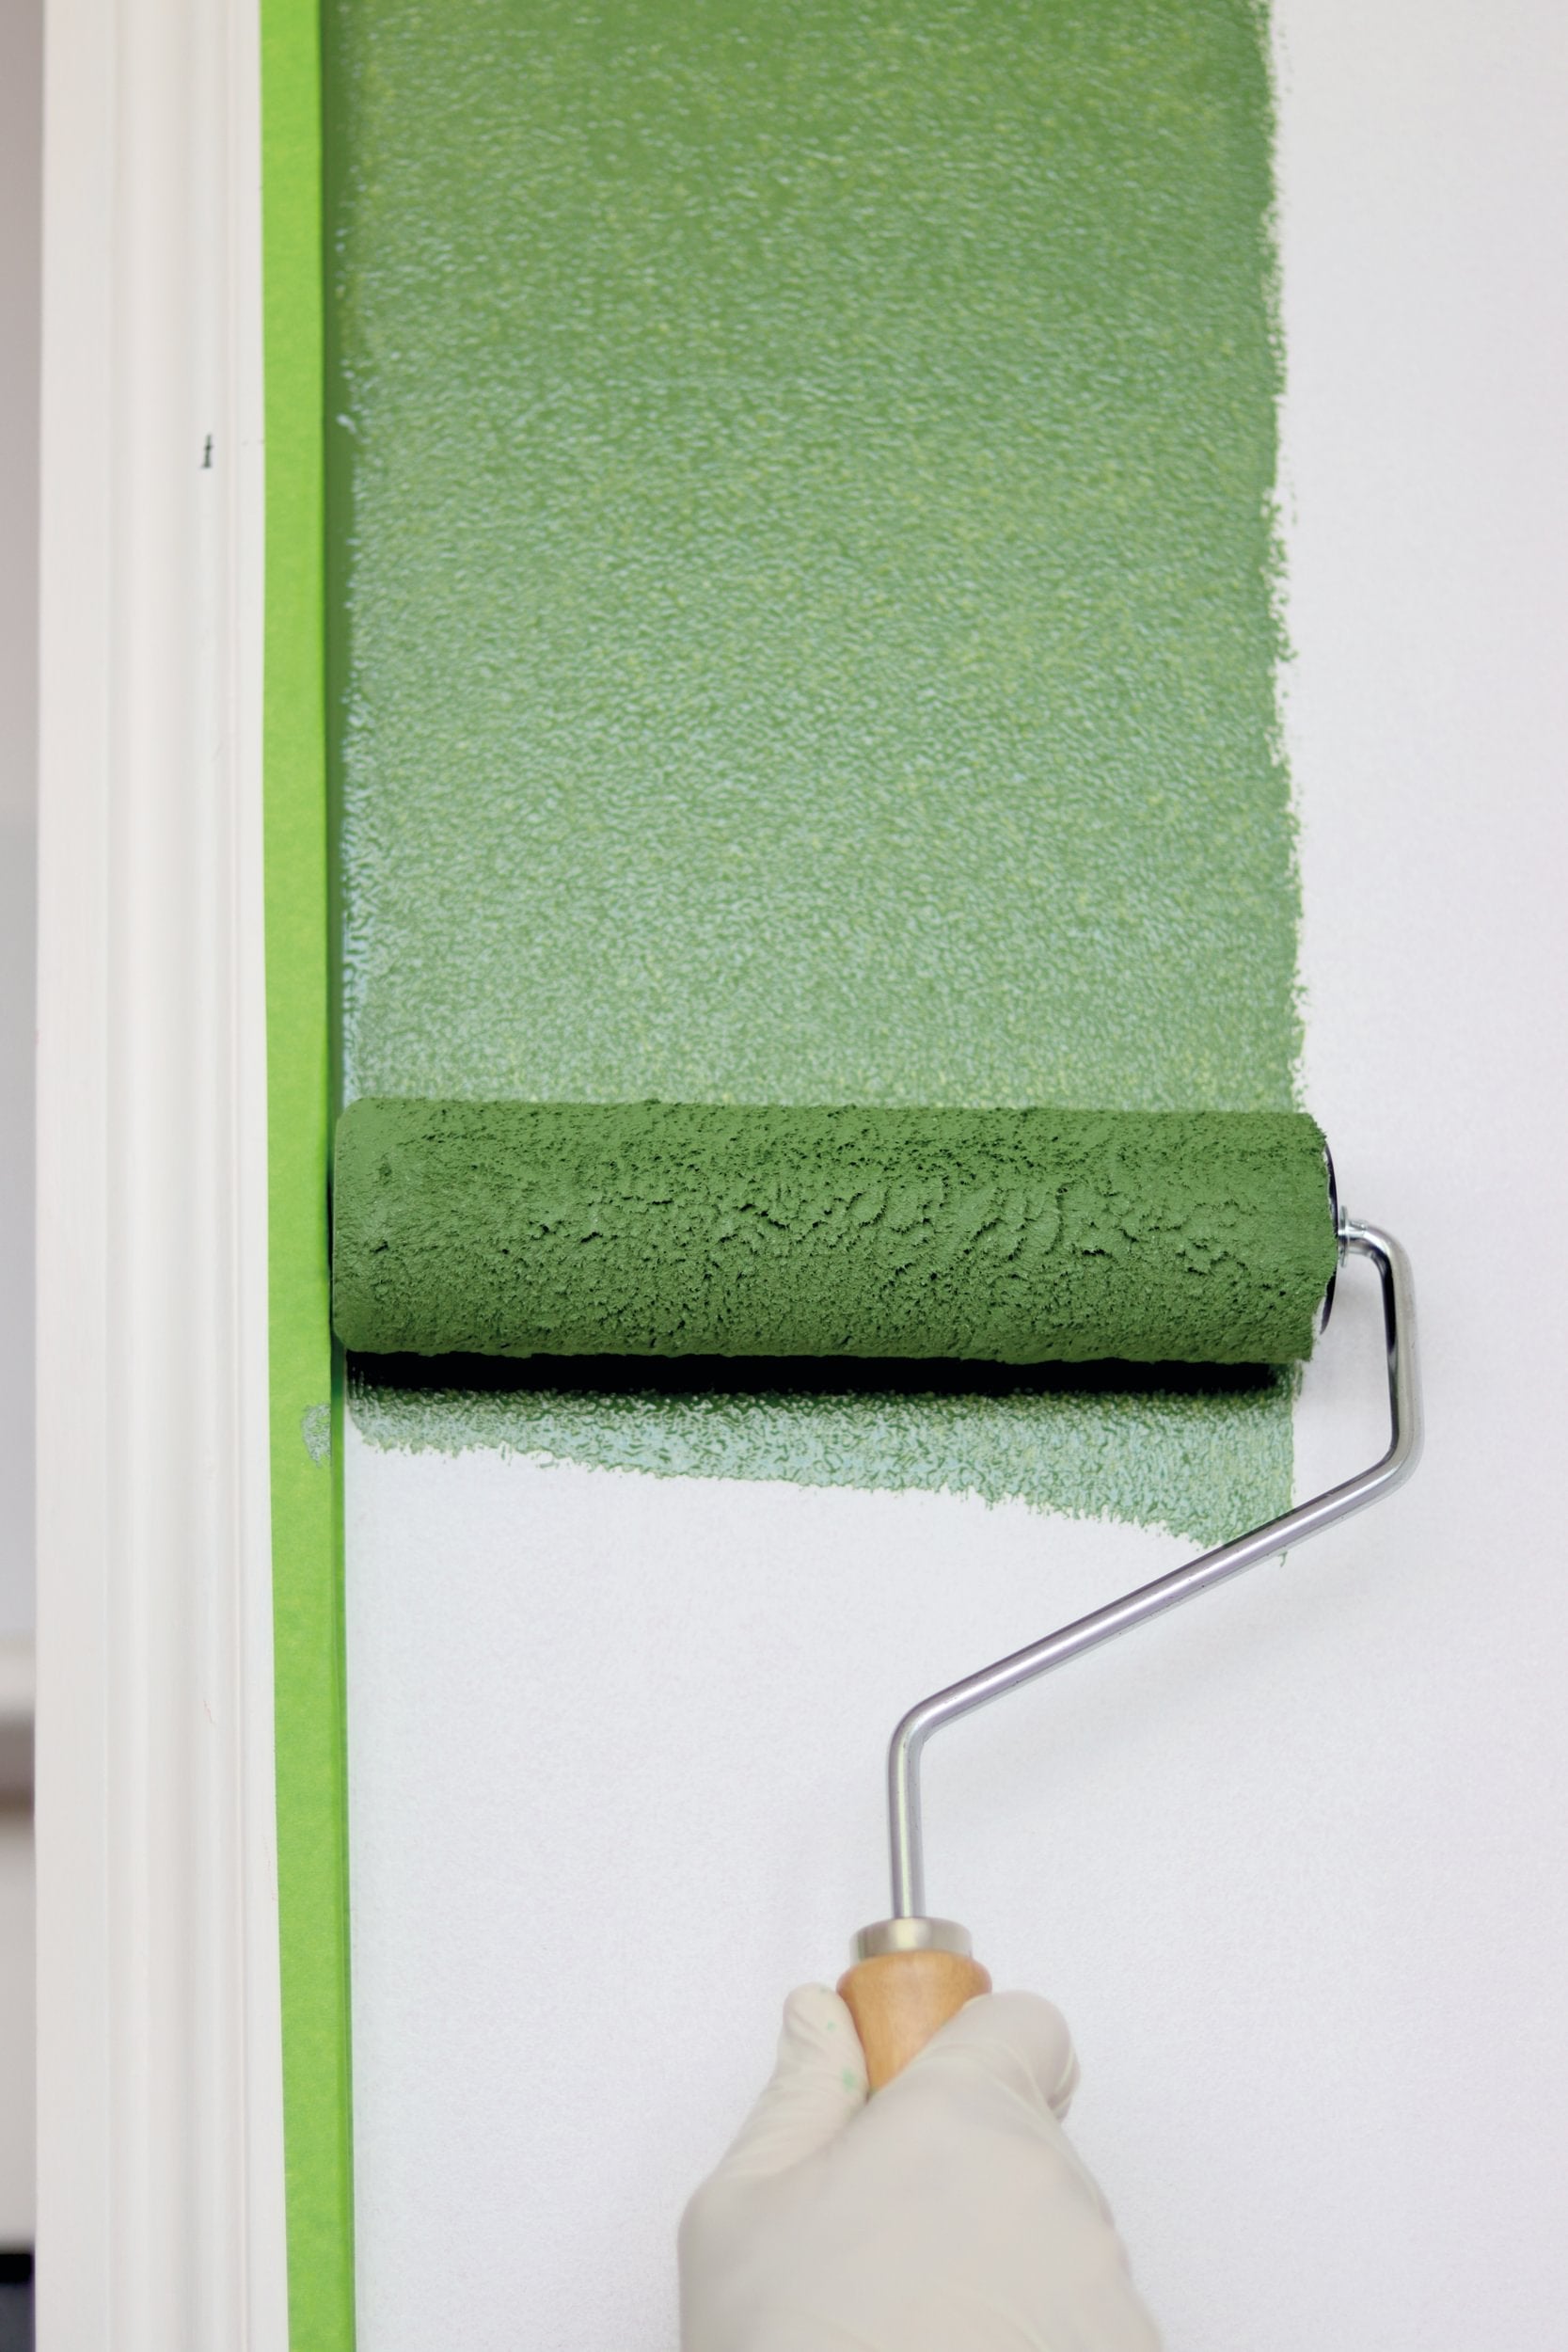
Apply painter’s tape carefully along trims, skirtings, and fittings to protect delicate edges. A precise preparation guarantees crisp, clean lines.
Step 7: Clear & Reset
Tidy up any dust or debris from your prep work to create an uncluttered. You are now ready to paint.
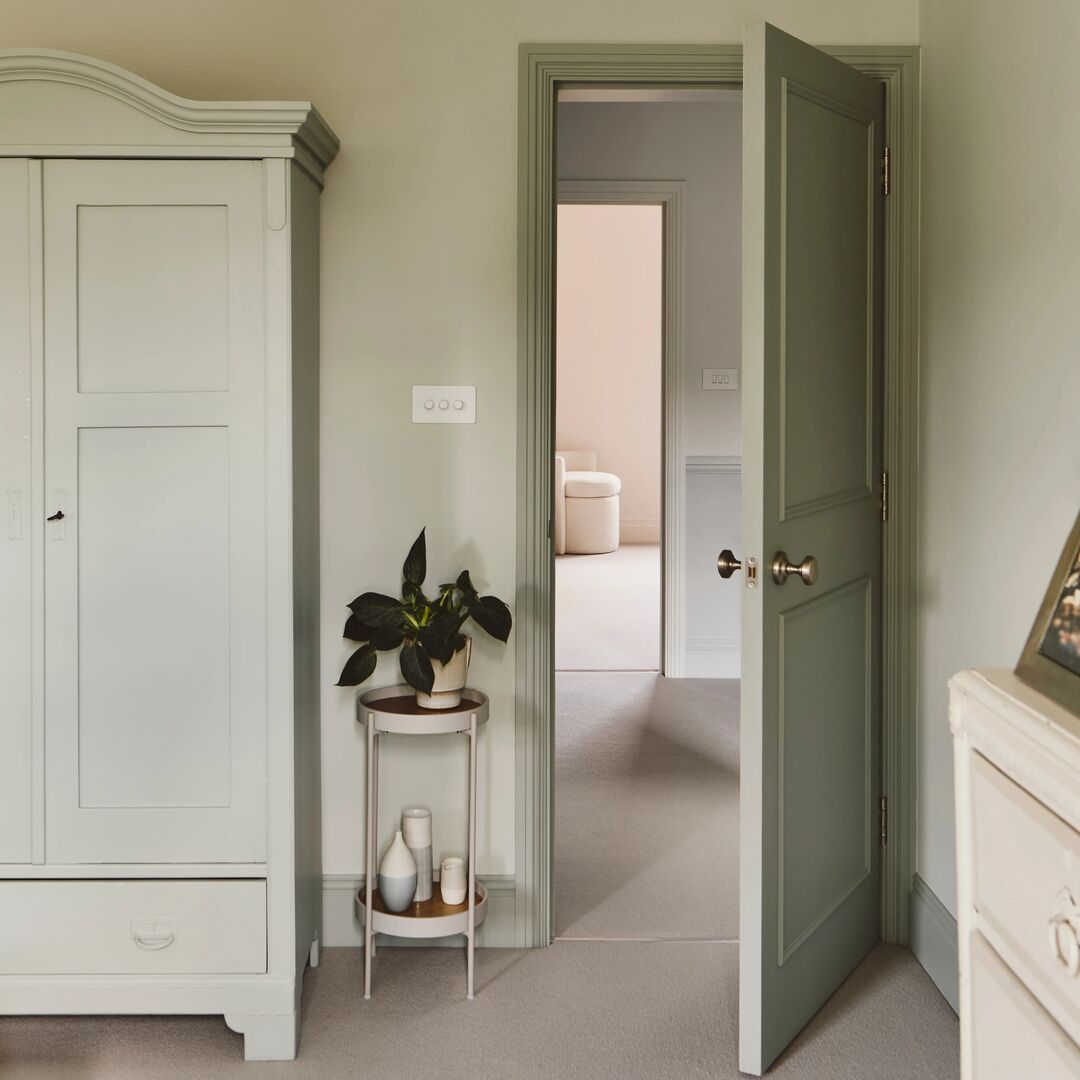
With your room prepared to perfection, you can enjoy the transformative power of Mylands paint and how with the right preparation, your finish will be as enduring as it is elegant.
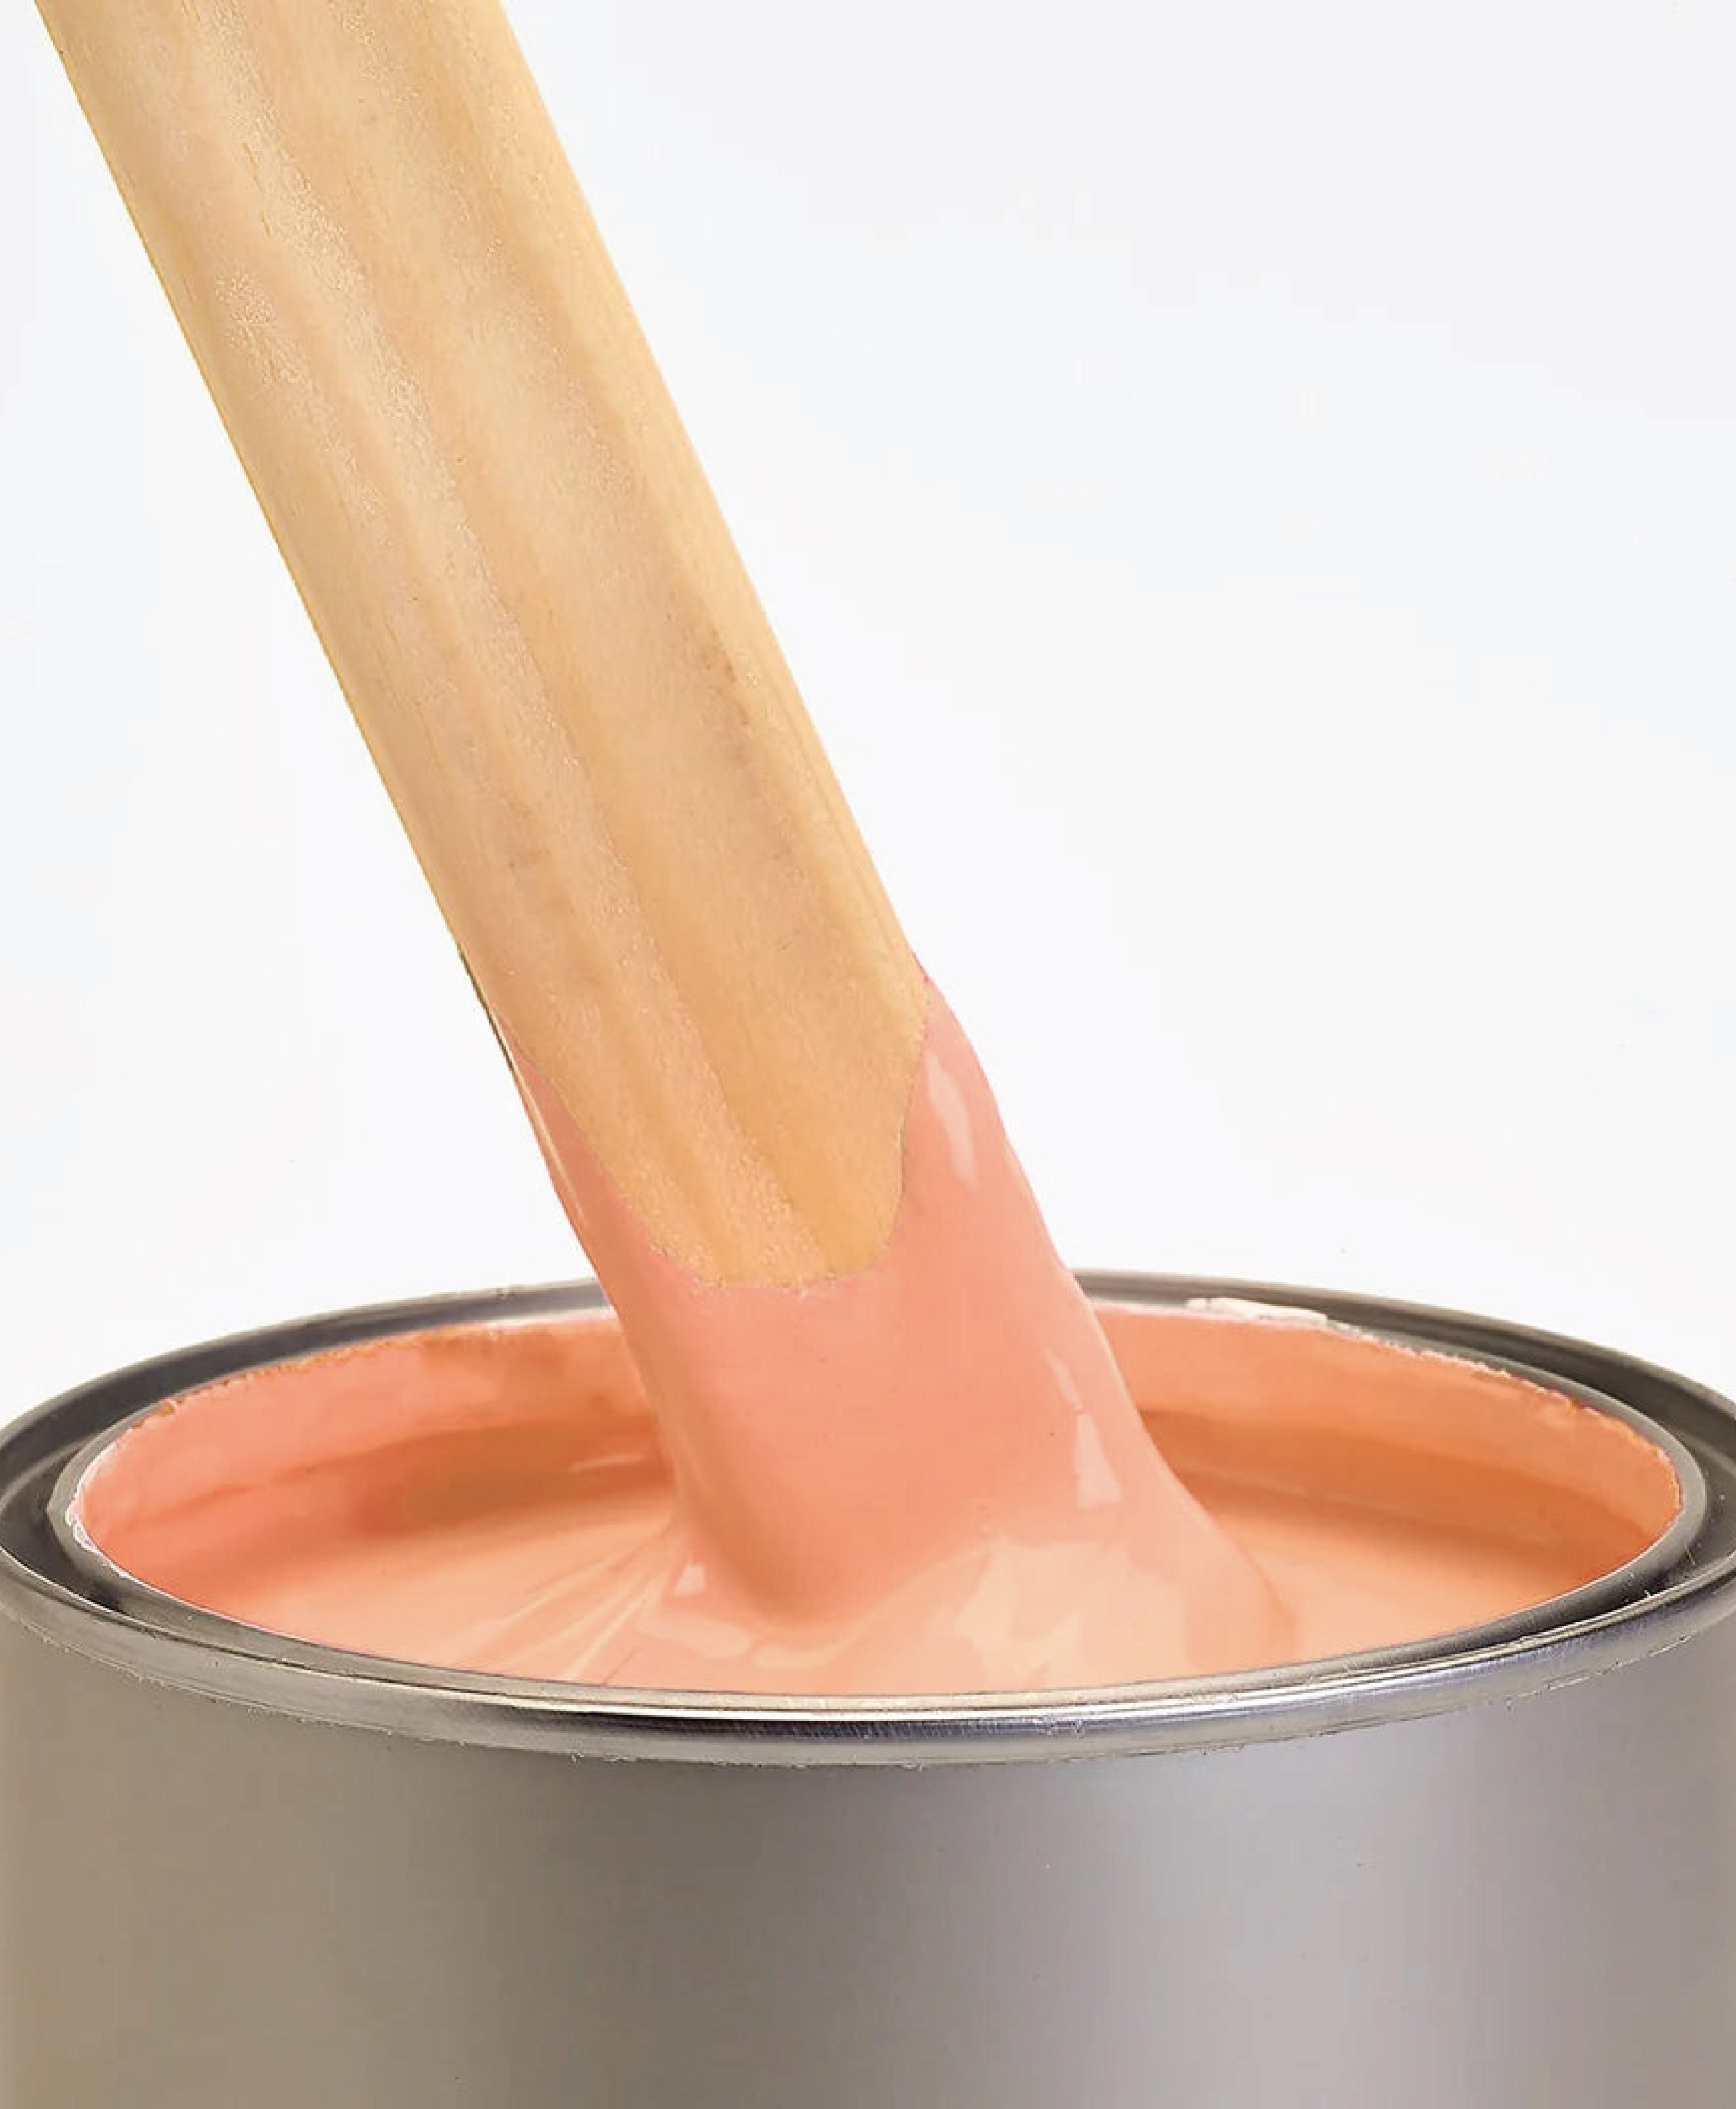
shop our primers